Spring is so close we can almost feel it! The temperatures have been less than friendly these days, but even if you feel trapped indoors now is a great time to start those cool-season crops. Stop by your nearest garden store (AKA Franz Witte) to get all your seed starting supplies.
Never started seeds indoors? No worries! We’re here to help.
First thing’s first, you’ll need to determine what you eat and what you want to grow this season. Write down the typical herbs and vegetables you purchase at the store. Then, you’ll probably have to do a little research for when each crop grows. Boise is unique in that it has a cool season and a warm season.
Cool-season crops grow best in temperatures between 50-75 degrees Fahrenheit, and some seeds can be directly sown outside. You can learn more in-depth information about cool-season vegetable gardening here.
In general, carrots, parsnips, beets, turnips, and radishes (all cool-season crops) can be direct sown as they don’t like to be disturbed or transplanted.
Onions, leeks, broccoli, kale, cabbage, and lettuce are a few popular items that should all start indoors.
Materials
Seeds:
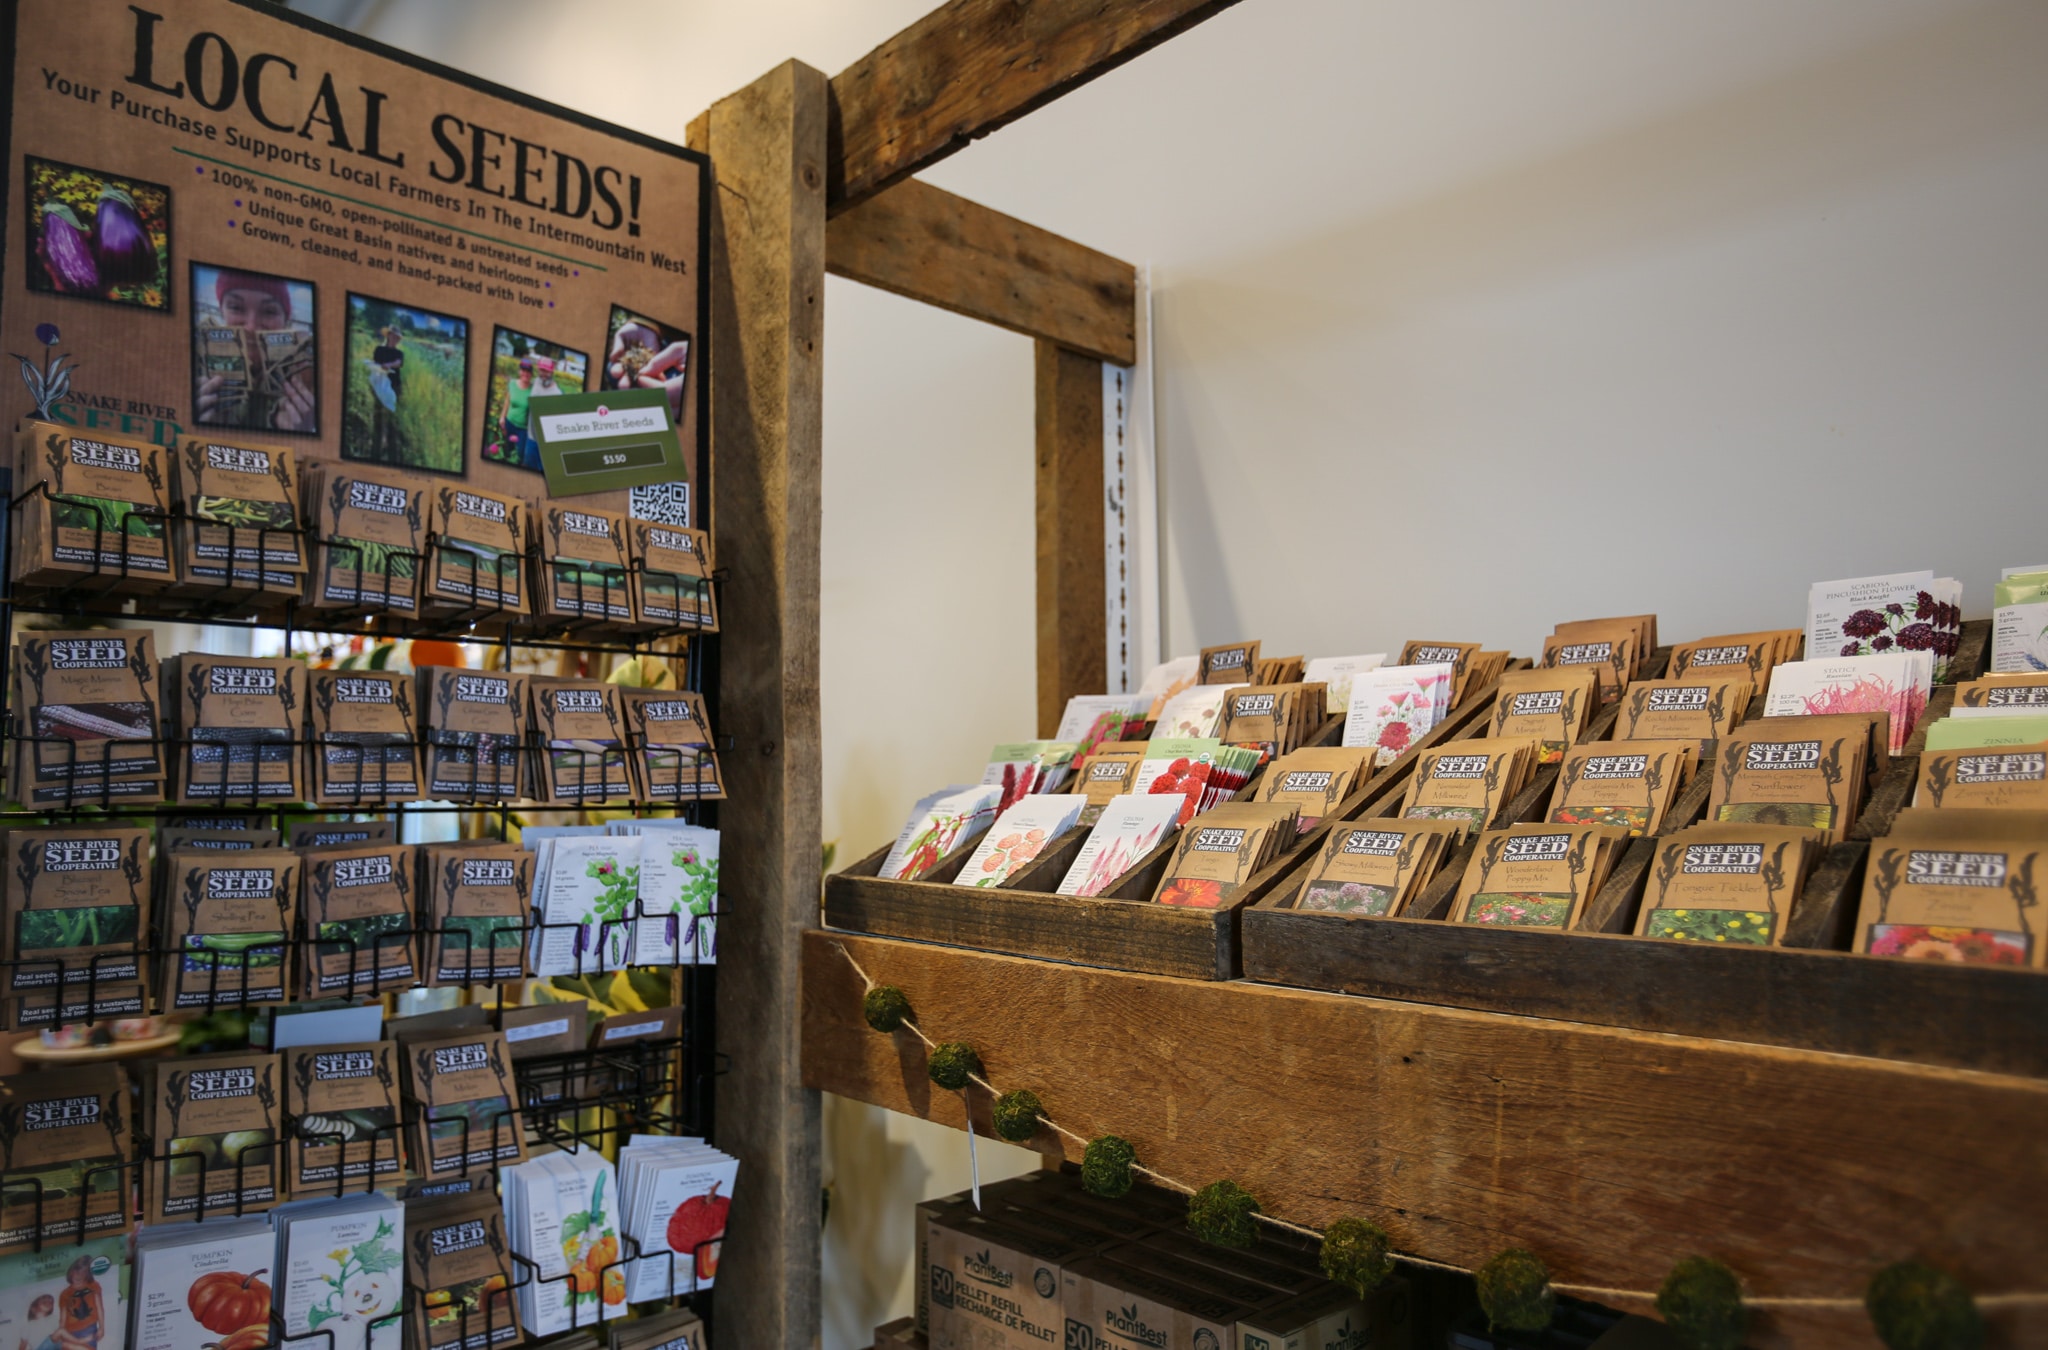
Once you’ve decided what you want to grow, it’s time for the fun part: seed shopping! We carry Snake River Seeds (a local supplier) and Botanical Interests. Stop by the garden center to shop the best vegetable varieties and cultivars.
You can check seed packets for information on proper sowing times. If you want additional help, the Ball Culture Guide is one of the best references for seed starting and germination.
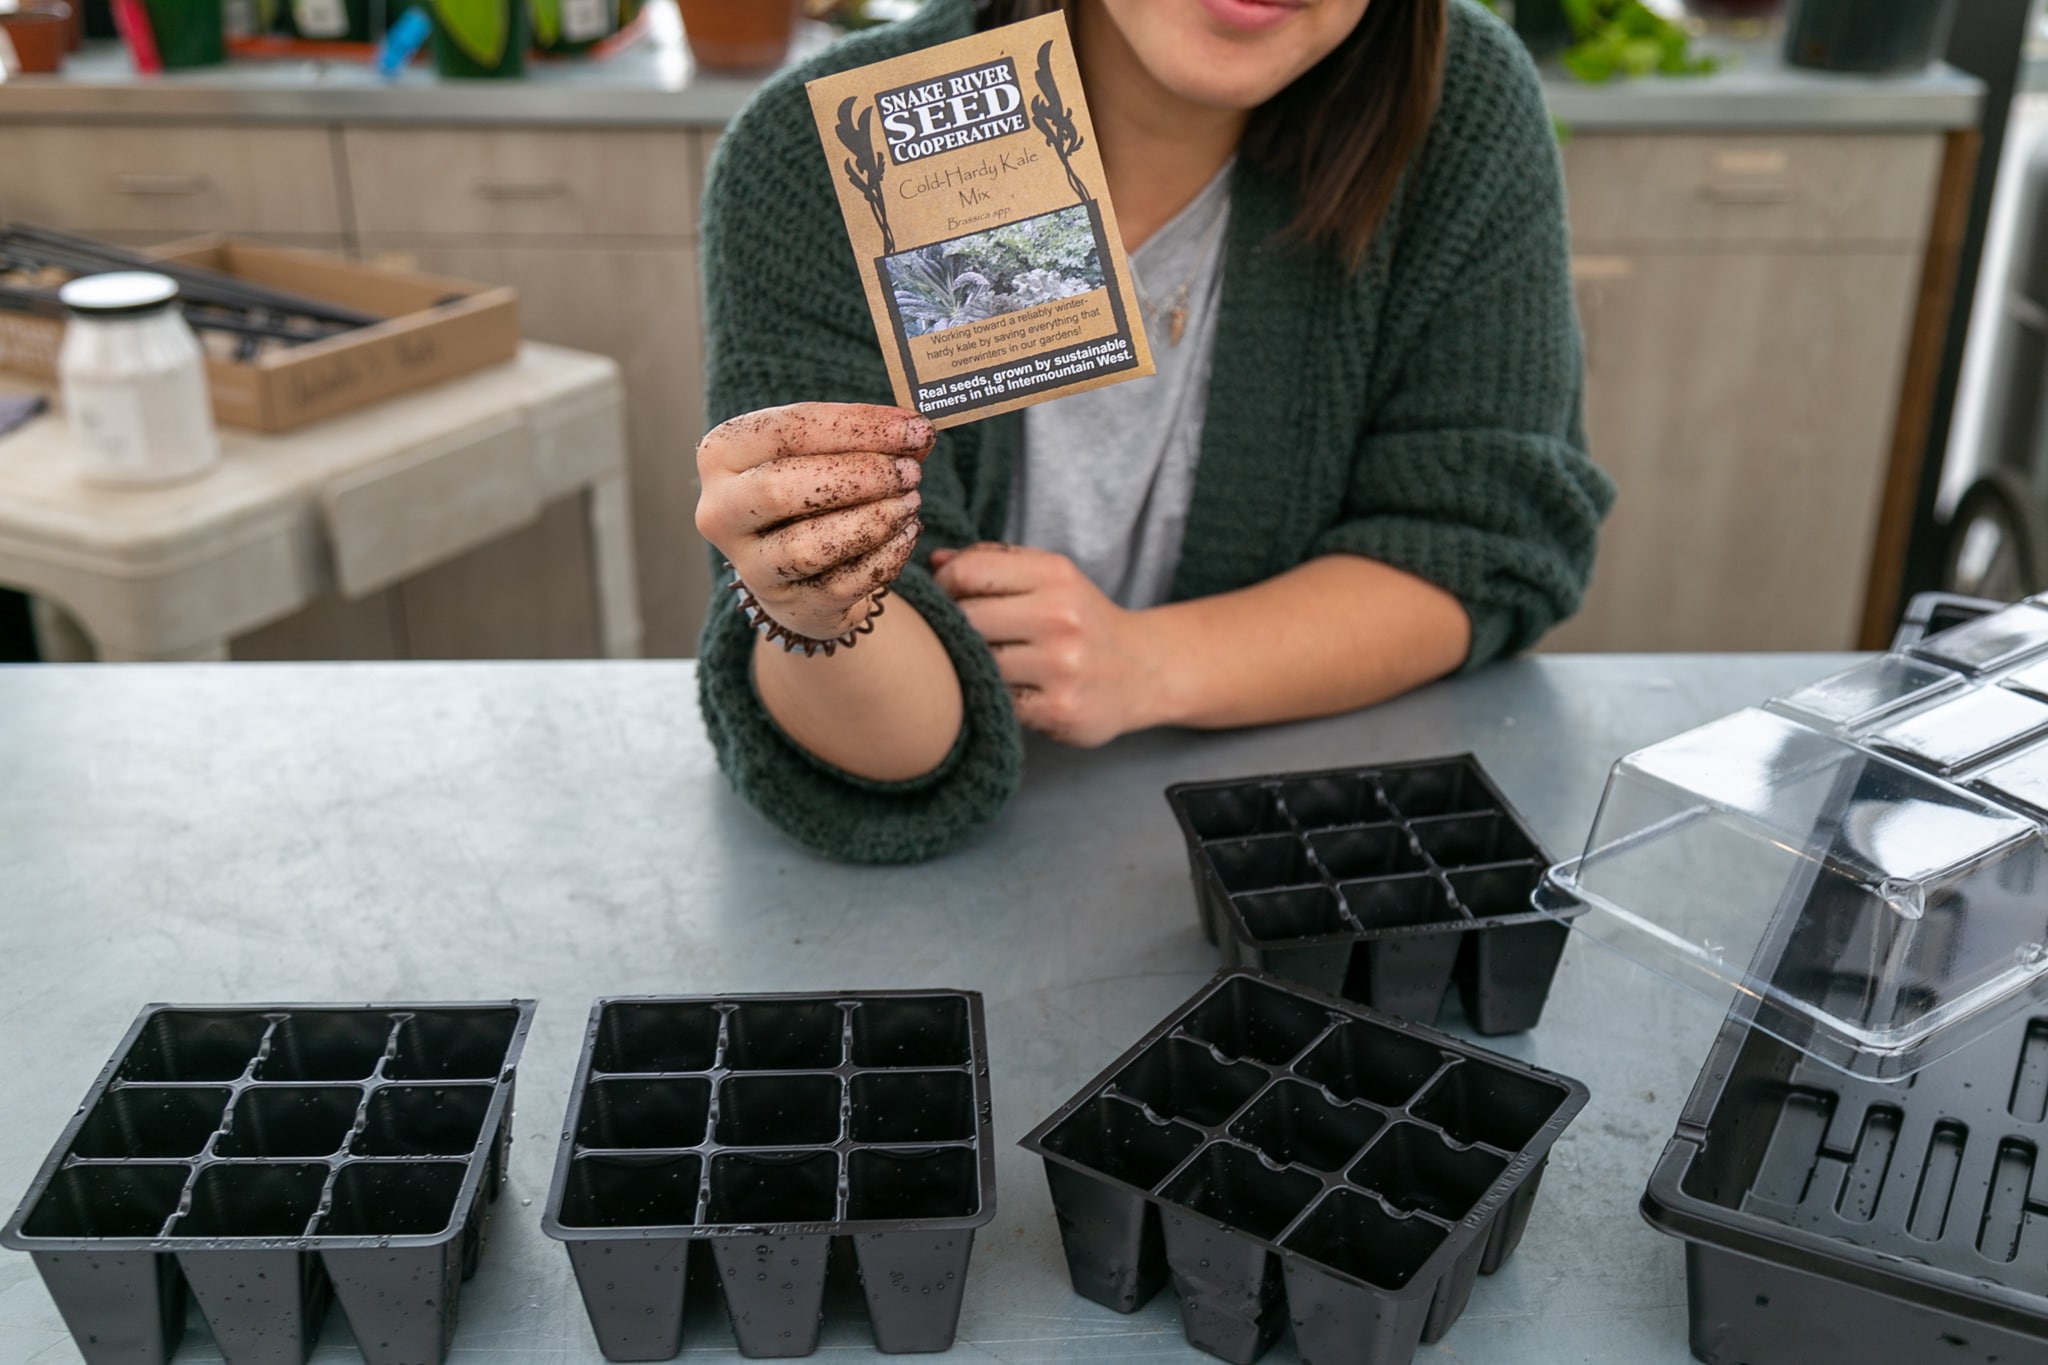
Containers:
There are numerous seed starting pots and trays to choose from—ranging in size and material. The more you familiarize yourself with containers, you may develop a preference. In any case, the best options include individual cells for seeds to grow and develop. Cell packs make transplanting seedlings easy, plus they can be reused. You’ll also want a tray below your container to catch excess water and a clear dome or lid to cover your seeds. Lids retain moisture and heat which aid in the germination process.
If you are looking for seed containers and cell packs, trays, or lids, the garden center has a selection to choose from to help you get started.
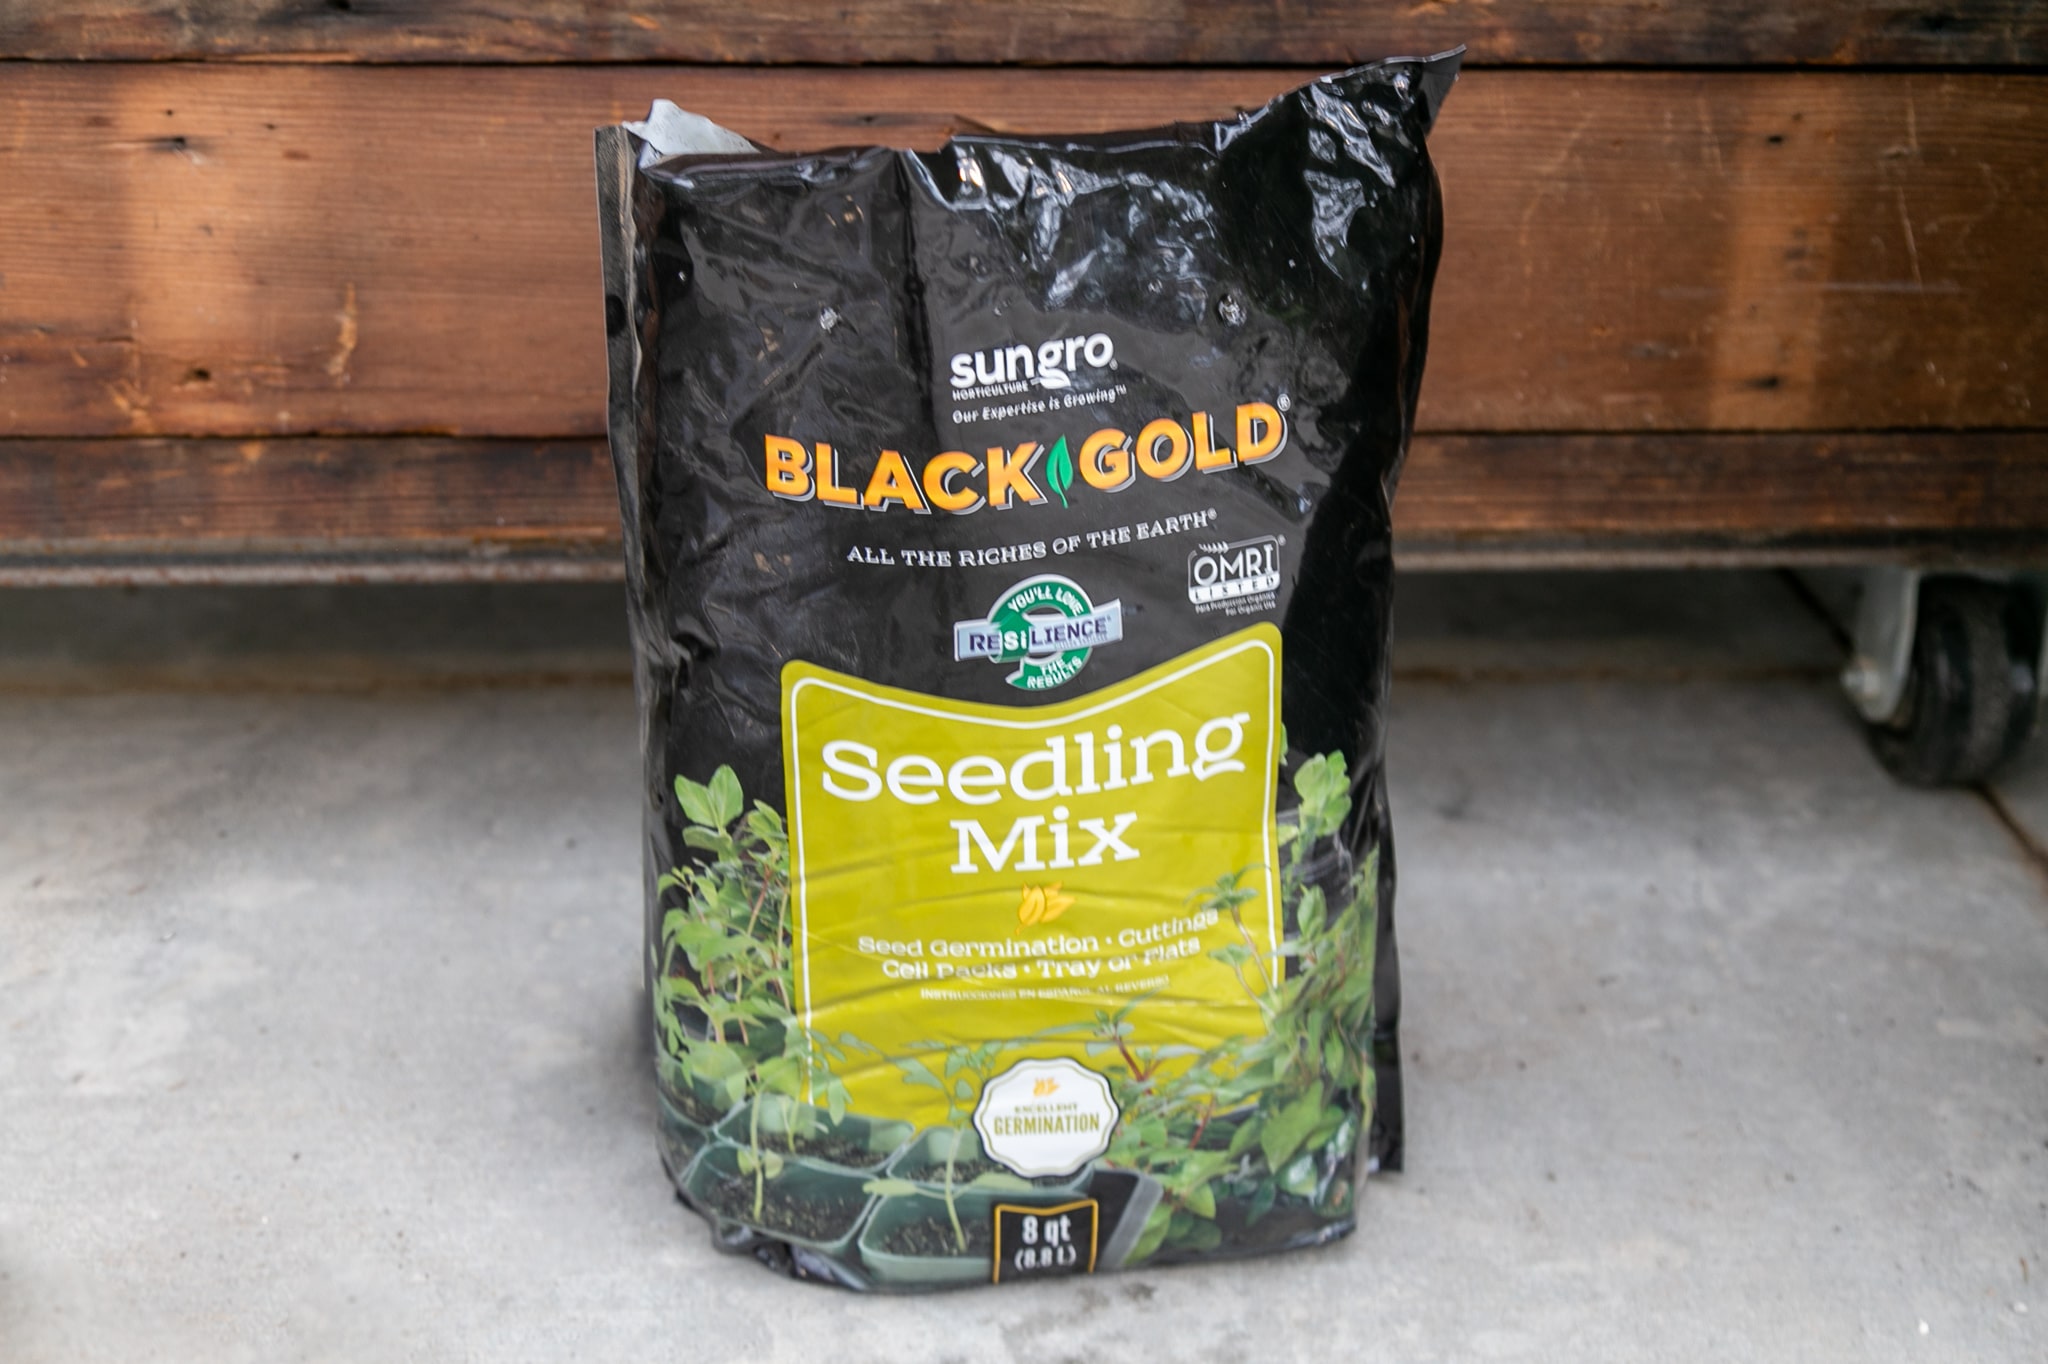
Seed Soil/Starting Medium:
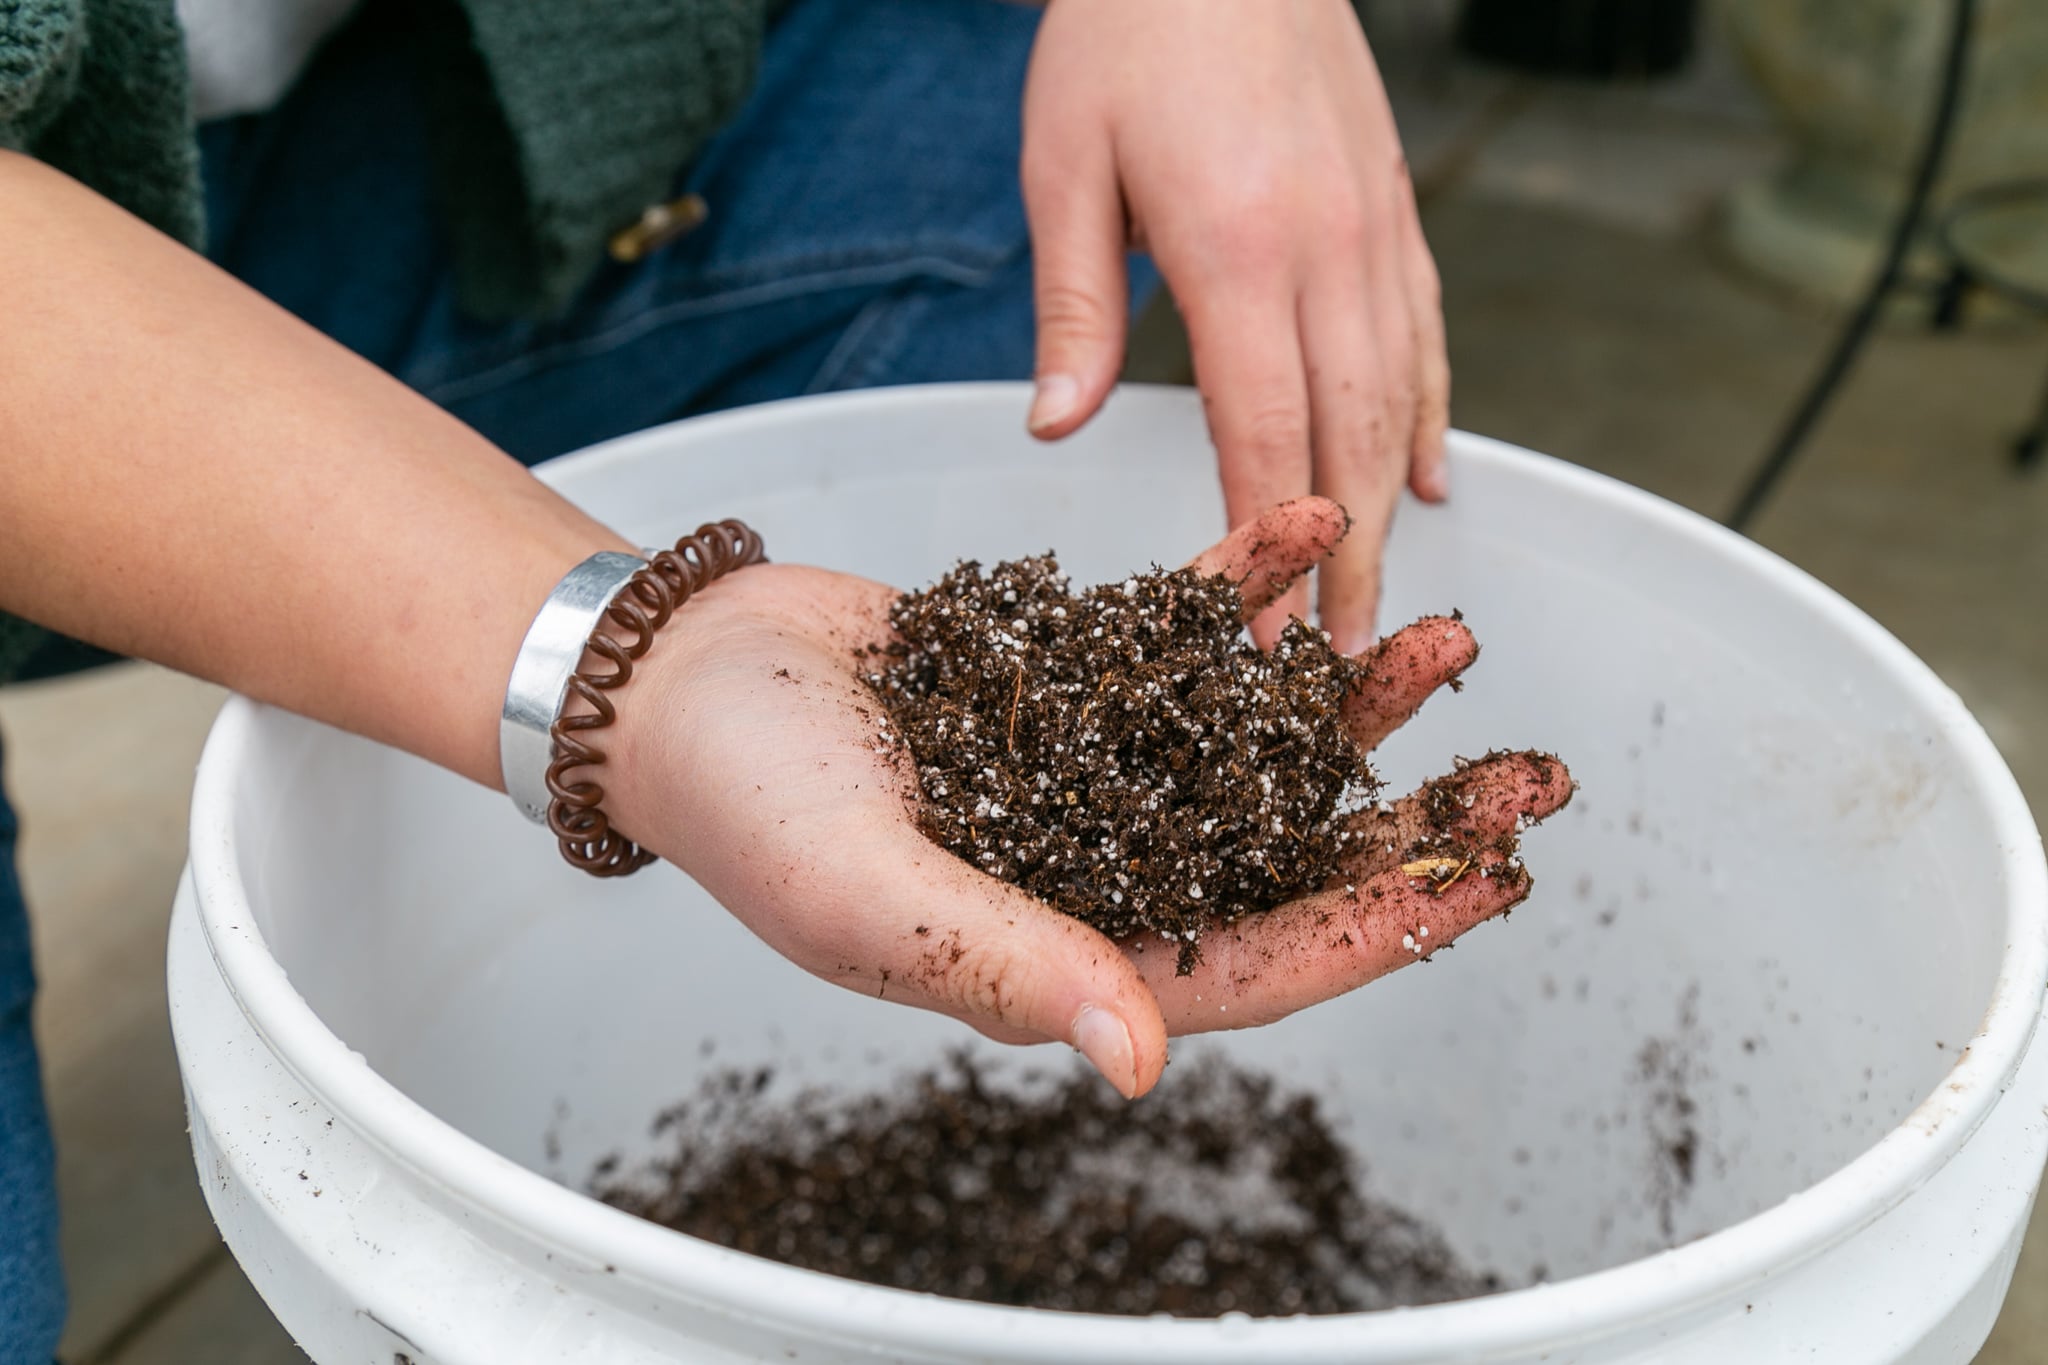
Seeds need lightweight, well-draining (porous) soil. The medium should be new and sterile from a bag—not your outdoor garden beds. When shopping for supplies, pick out a soil specifically made for seeds. Your standard “all-purpose” soils are too dense and will more than likely inhibit the success rates of your seeds. Avoid adding or mixing in fertilizer to your soil medium. Fertilizer can damage or burn fragile seedlings.
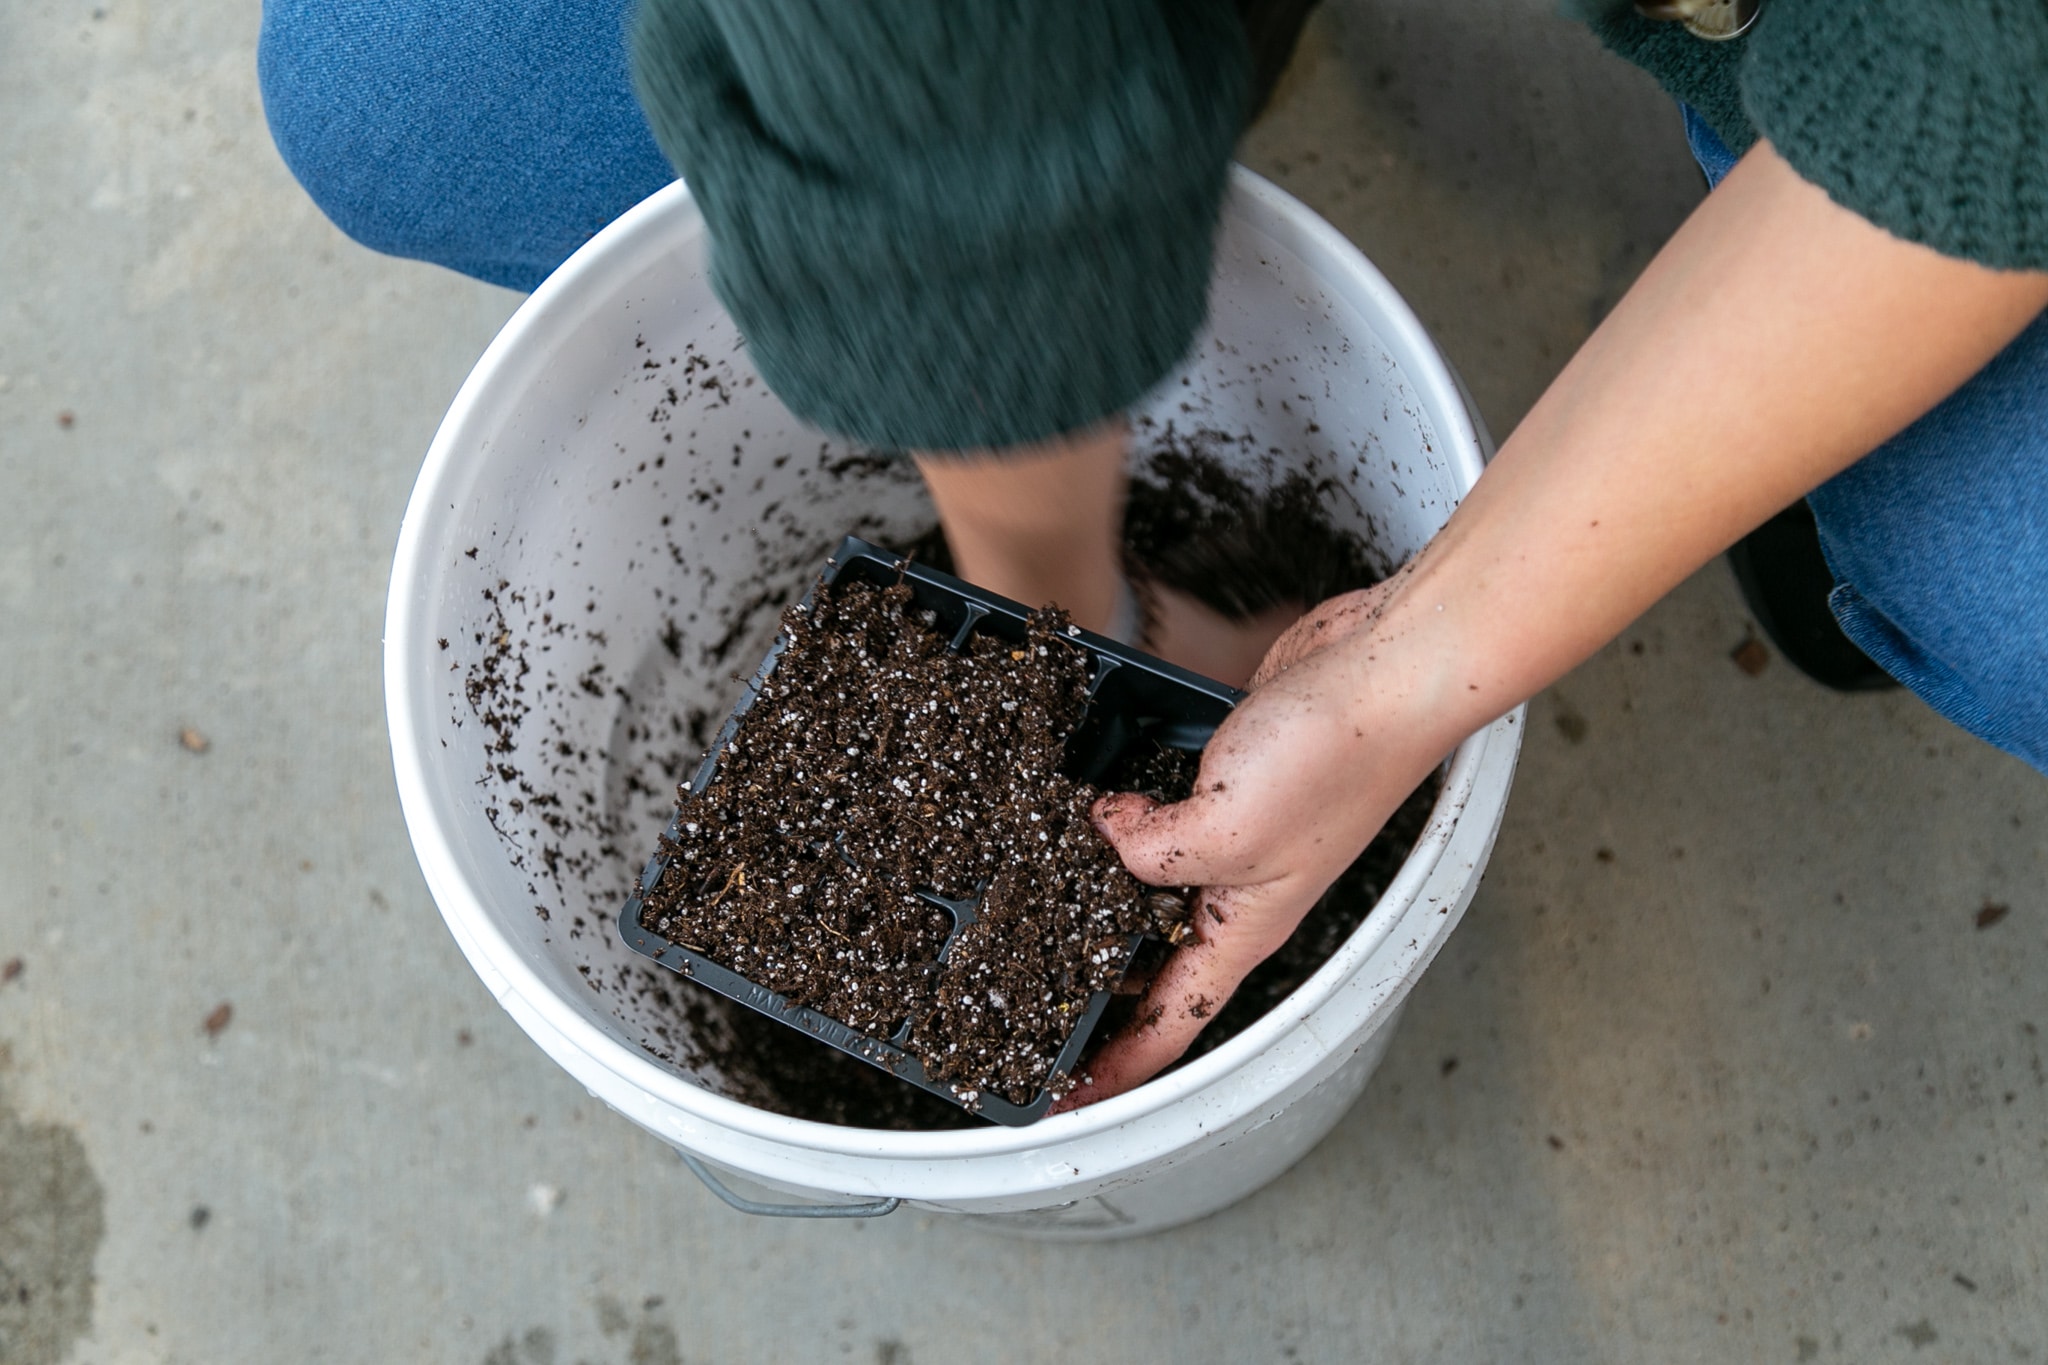
When getting ready to plant your seeds, add water to your soil and mix it together. Grab a handful of soil and squish it into a ball. When you open your palm, the soil should loosely hold the shape of a ball. If water seeps from your hands when you squeeze, then the mixture is too saturated. If the soil falls with no shape and lots of fine dust particles disperse, add a little more water.
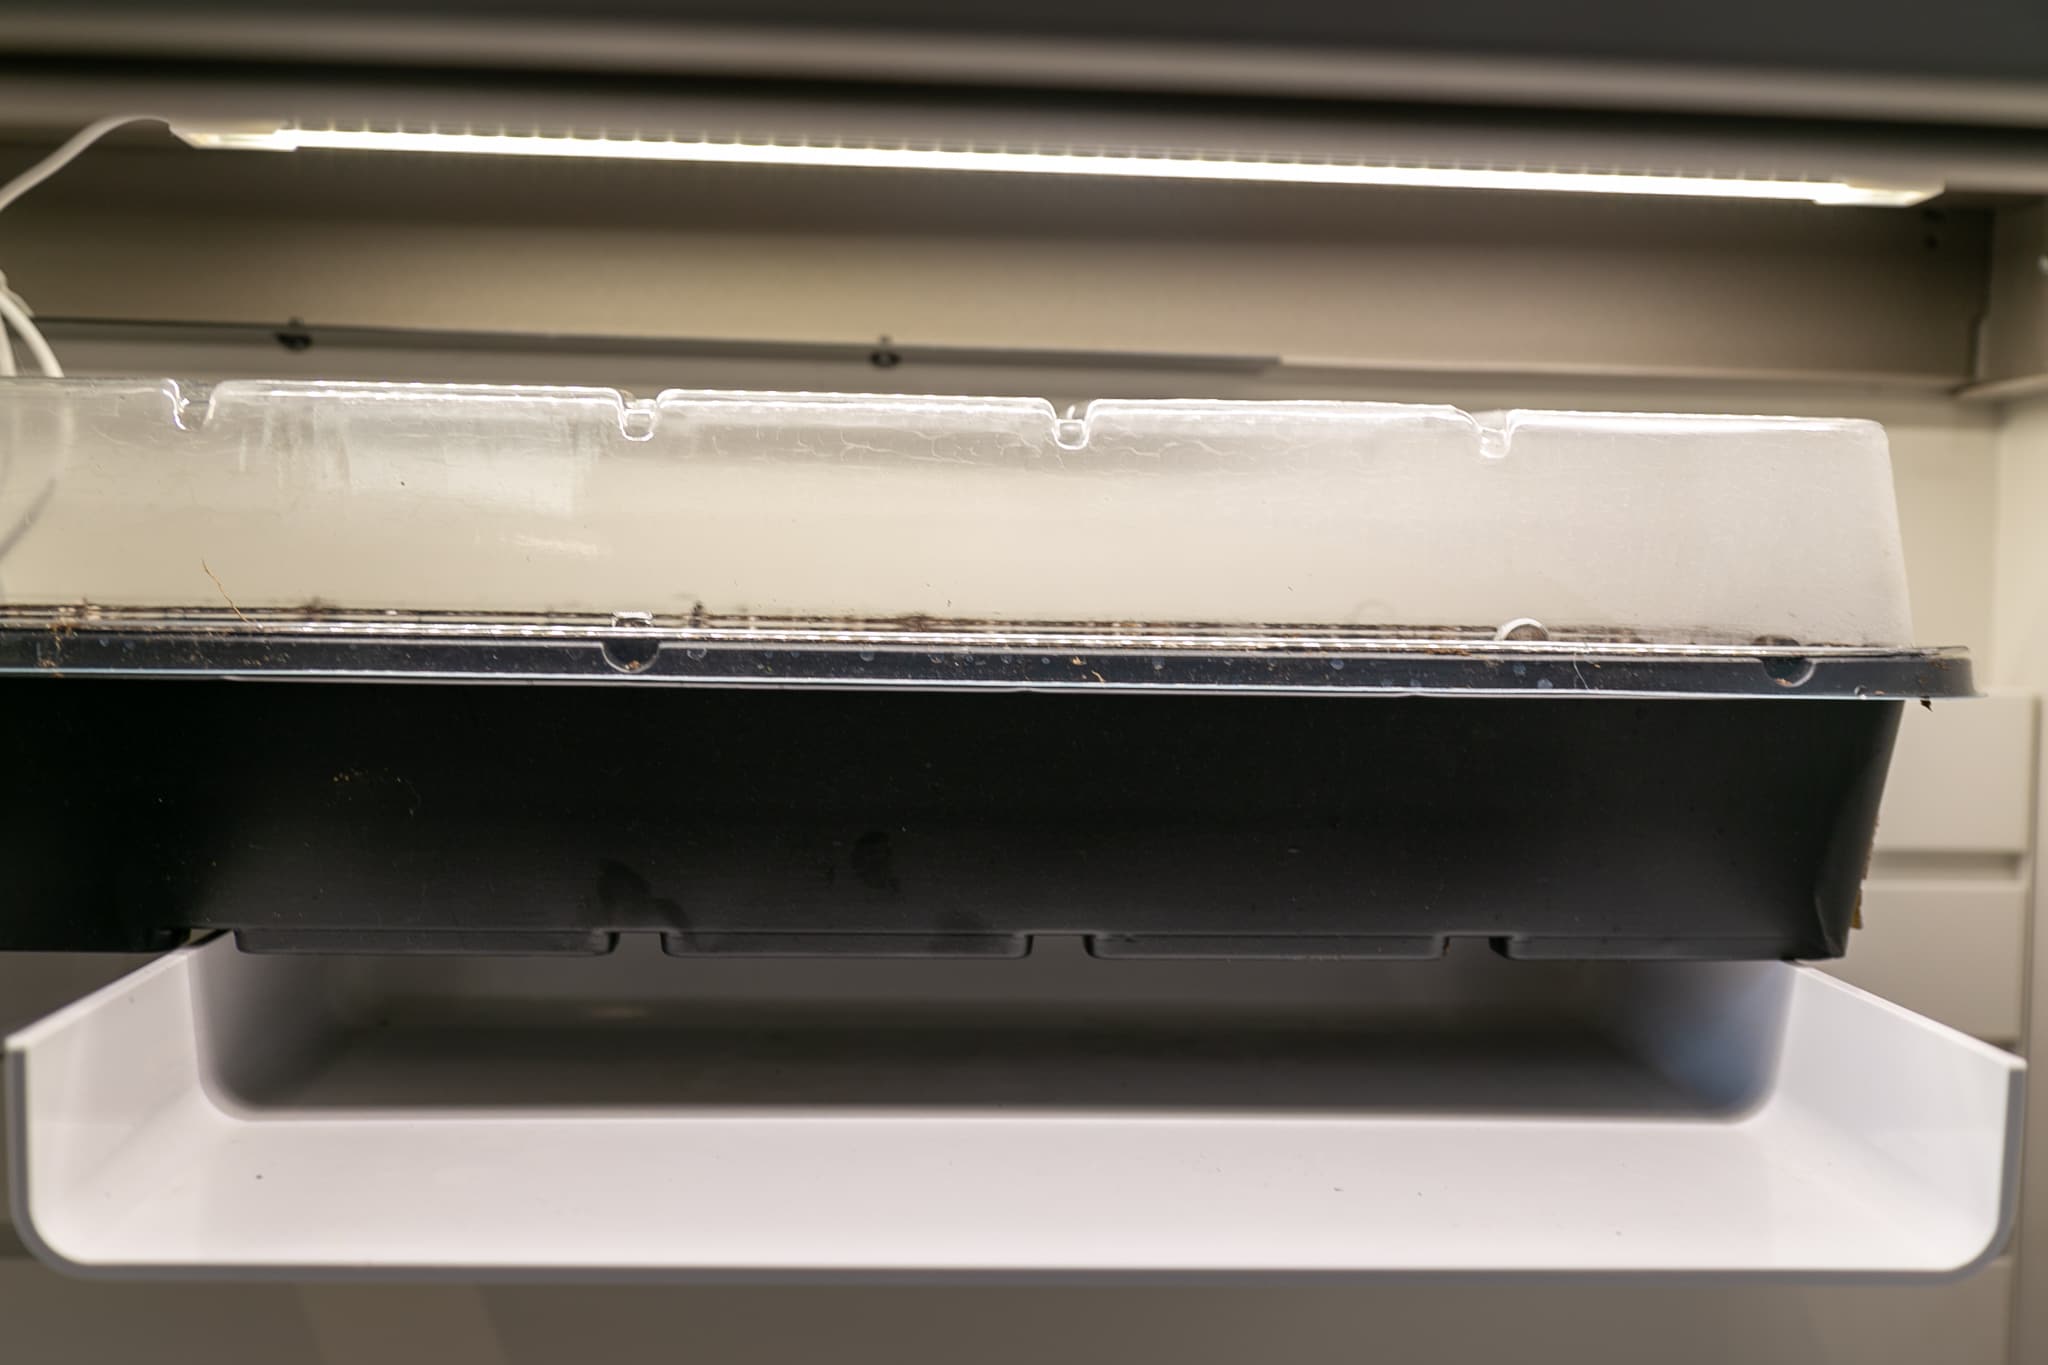
Light:
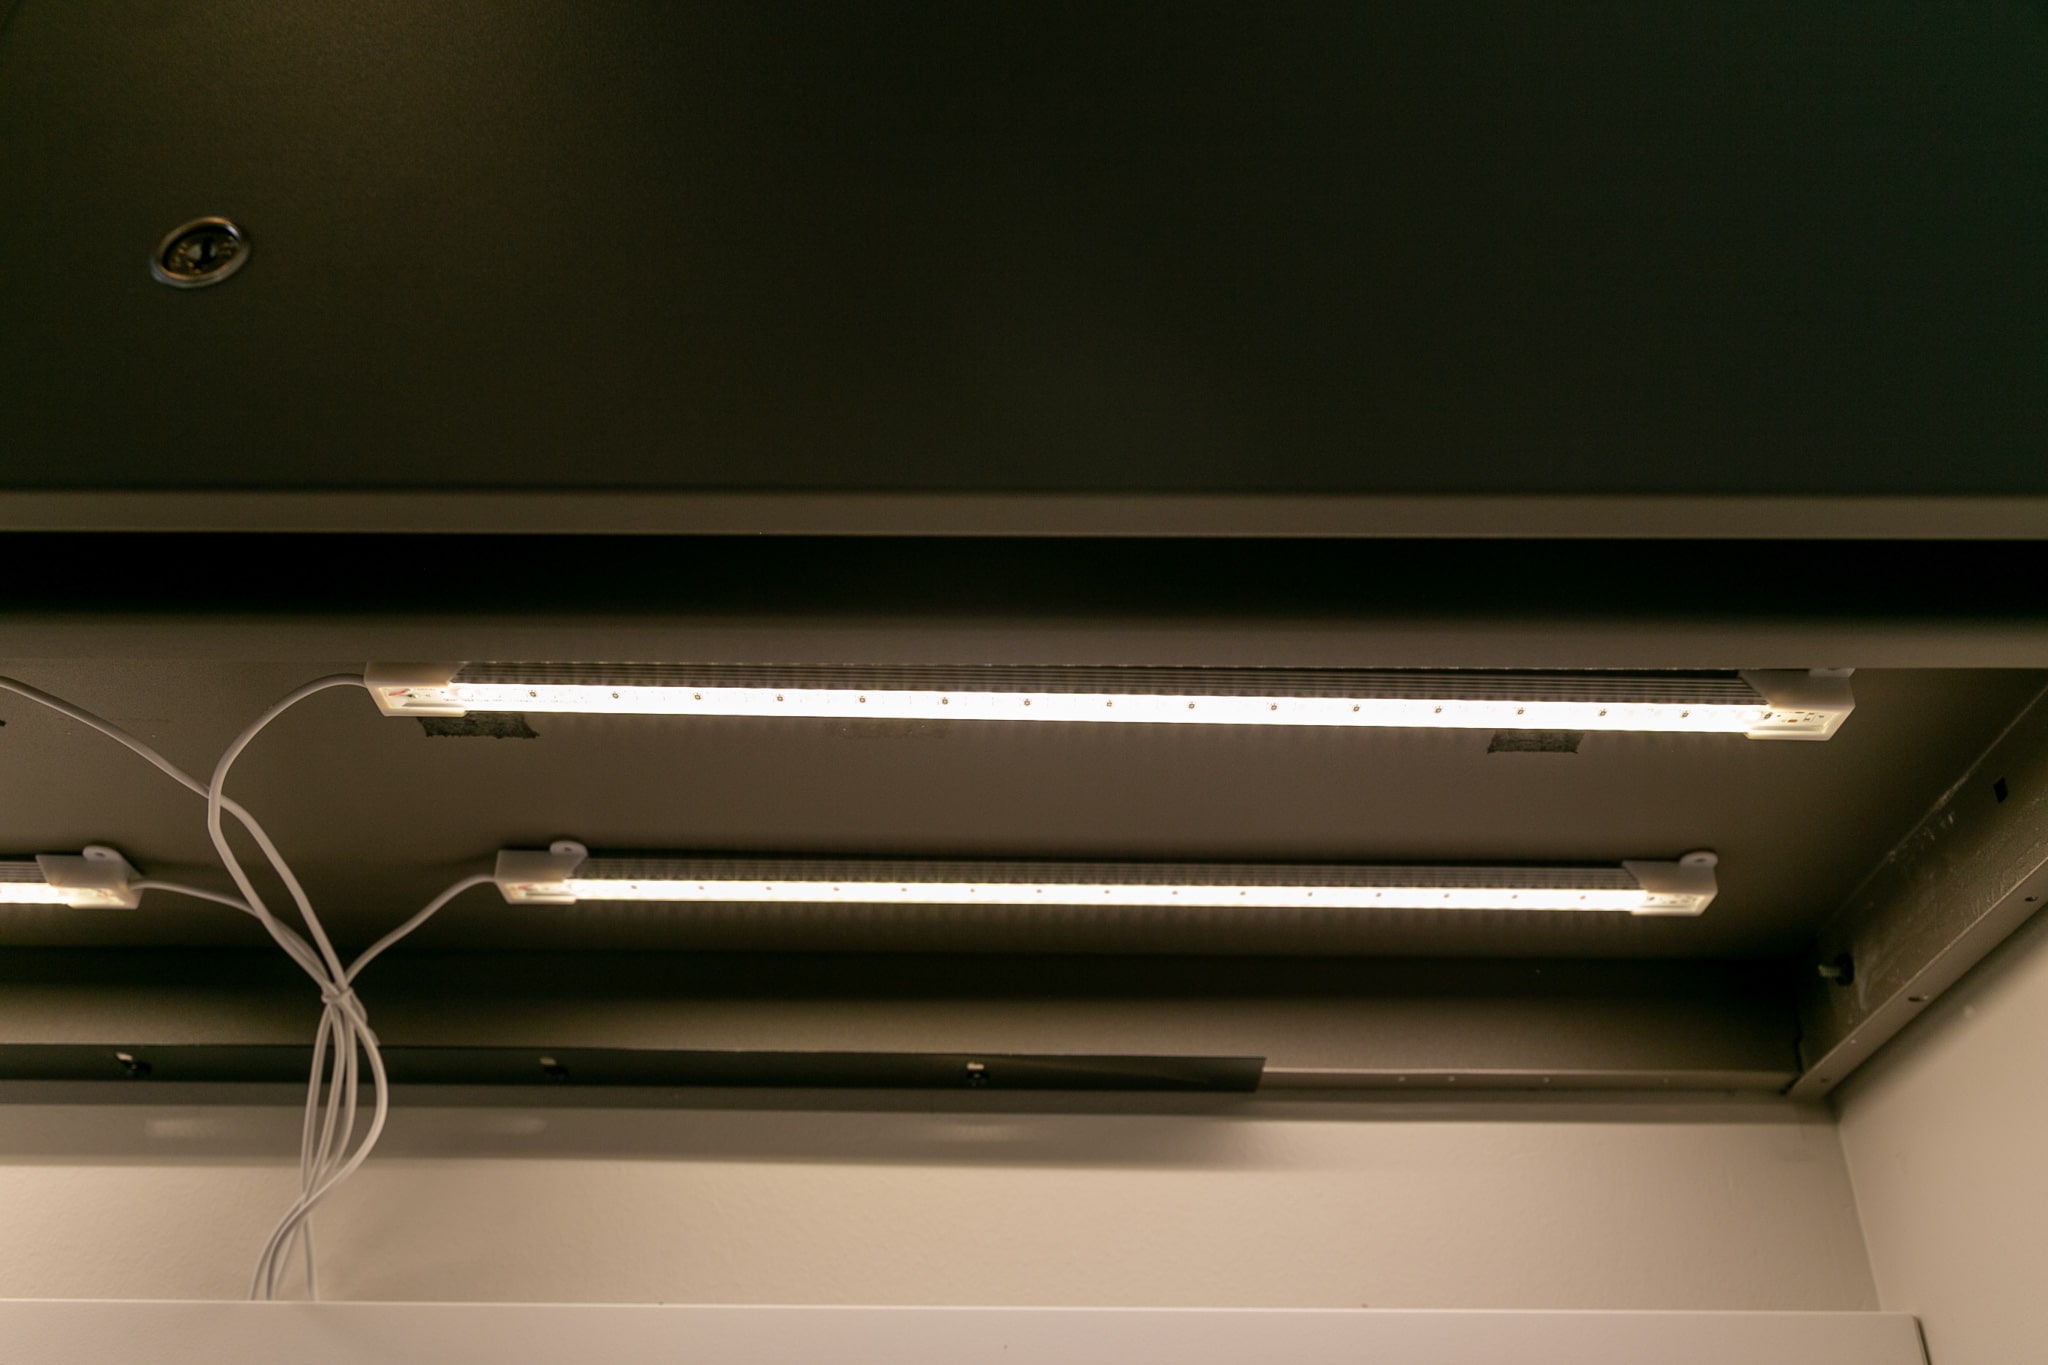
Because the days are shorter this time of year, your seeds won’t get the 14-16 hours of sunlight that they need for success. You’ll need to provide an artificial light source to hang over your seedlings, otherwise your plants will grow leggy and weak. T5 full-spectrum fluorescent bulbs or LED grow lights are two of the best options.
You’ll want to hang grow lights approximately three to six inches above seed trays. Rigging them to adjust as plants grow is a great way to ensure new starts remain healthy. If you don’t move the lights as your plants reach upward, then chances are the delicate leaves will singe from the light. Chains and hooks make adjusting lights easy, and timers aid with scheduling so you don’t have to remember.
How much room you have will determine how many lights you need. Make sure to purchase and set up enough lights to illuminate full trays. Hanging lights directly above seed trays mimics natural sunlight.
Temperature:
Optimally, seeds germinate between 70-80 degrees Fahrenheit. The best way to ensure these temperatures are with a heat mat. Placing trays on a warm surface simulates soil temperatures on warm days.
If you don’t want to invest in a heat mat, some people use the top of a fridge or radiator.
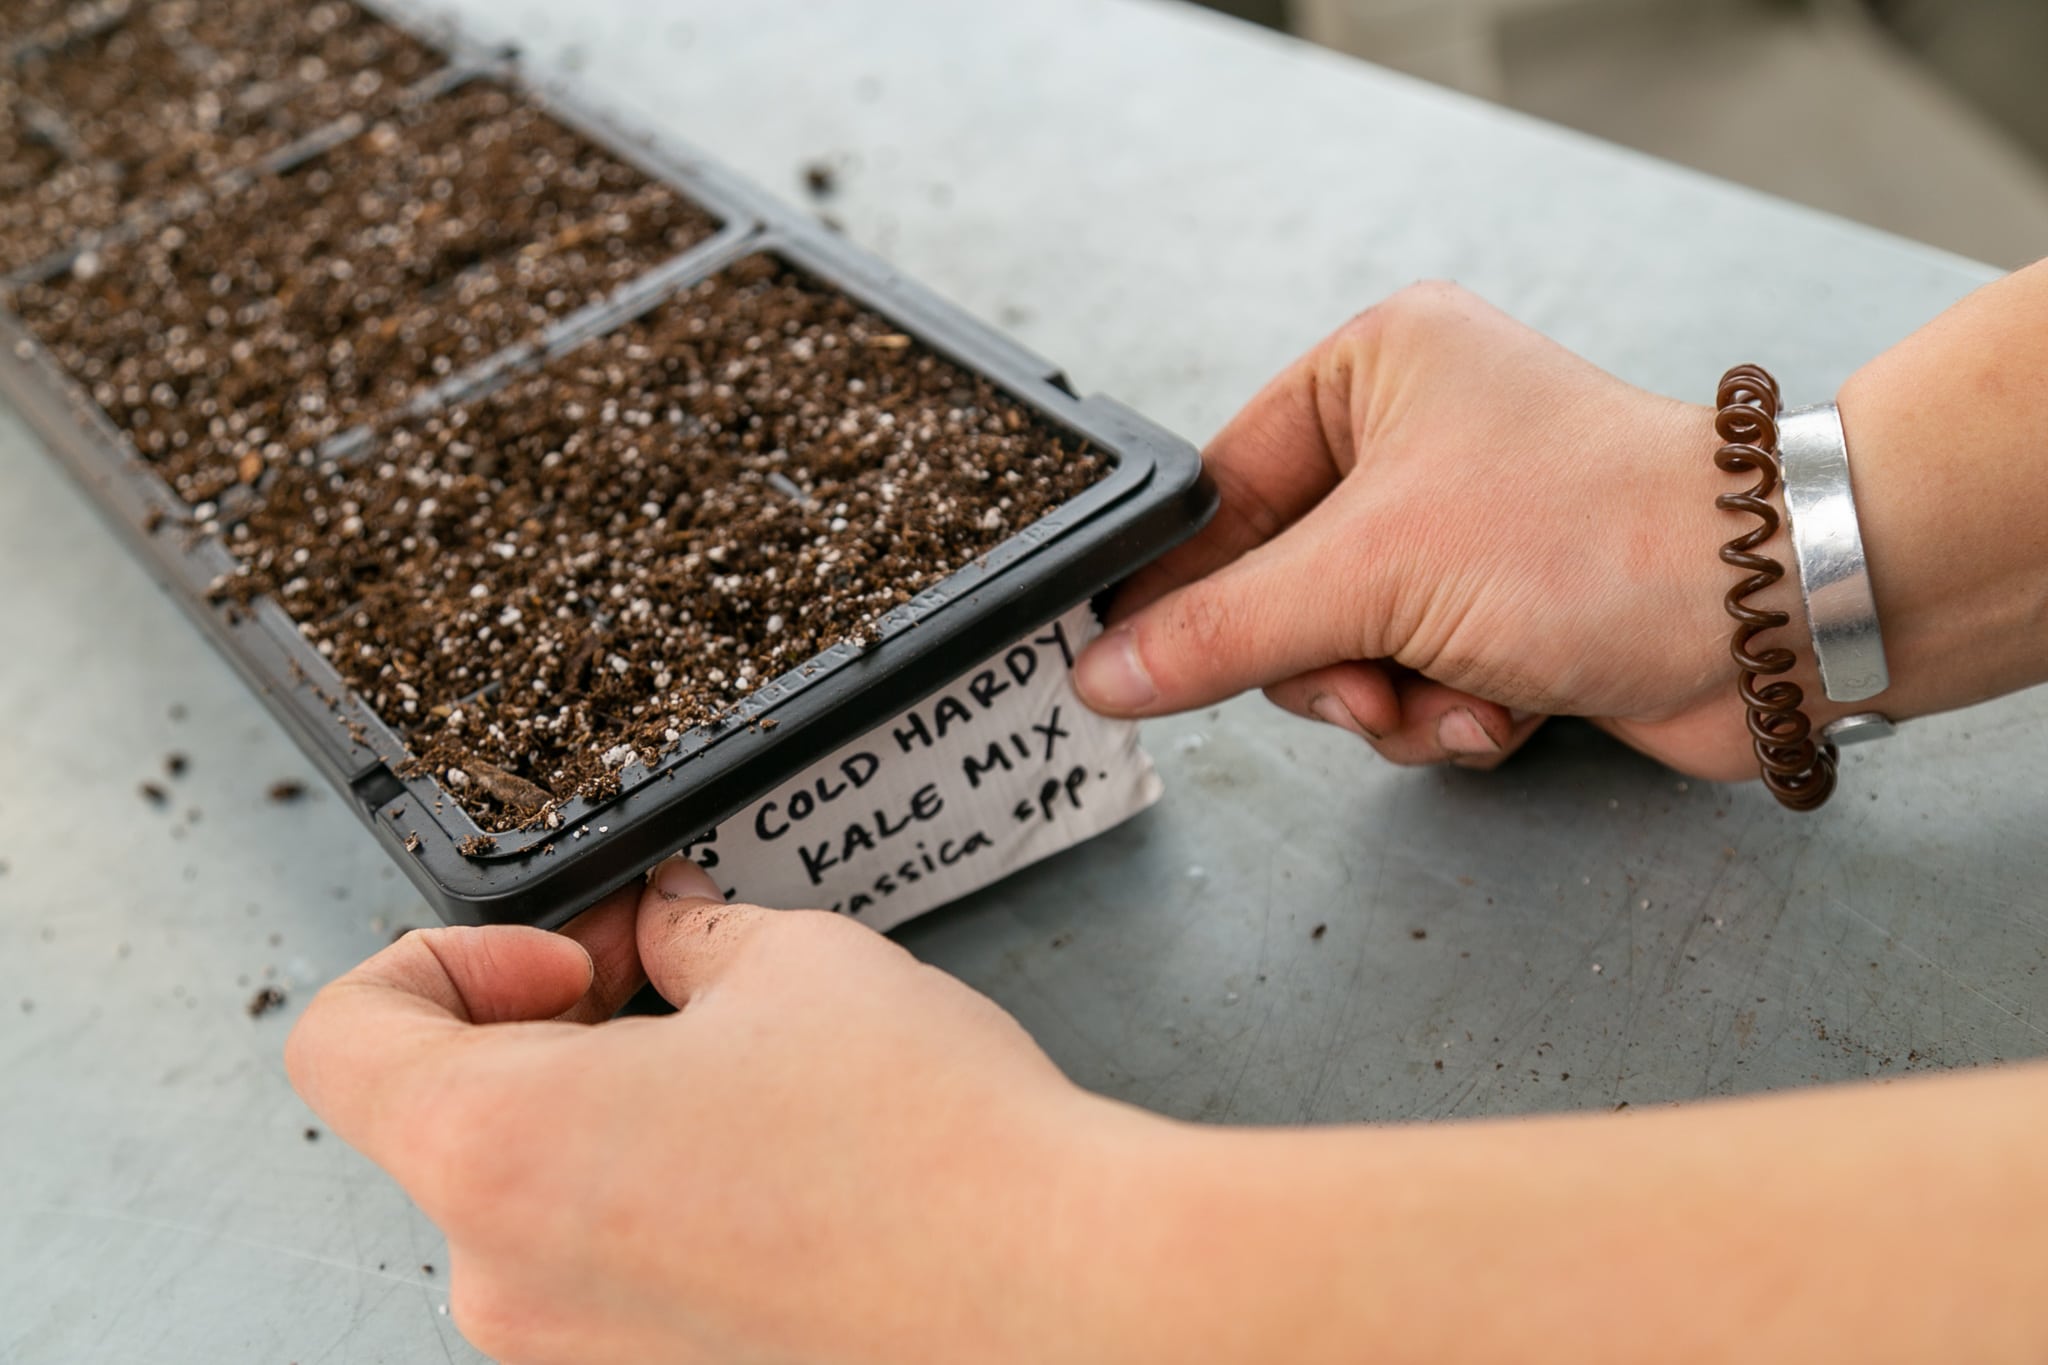
Labels:
Label. Label. Label. You might be confident in your memory as you start, but as the season goes on and you get busier, remembering which seeds are which will be the last thing you want to do. Use popsicle sticks, old toothbrush handles, garden flags, stakes, or even tape on the trays to label your seeds.
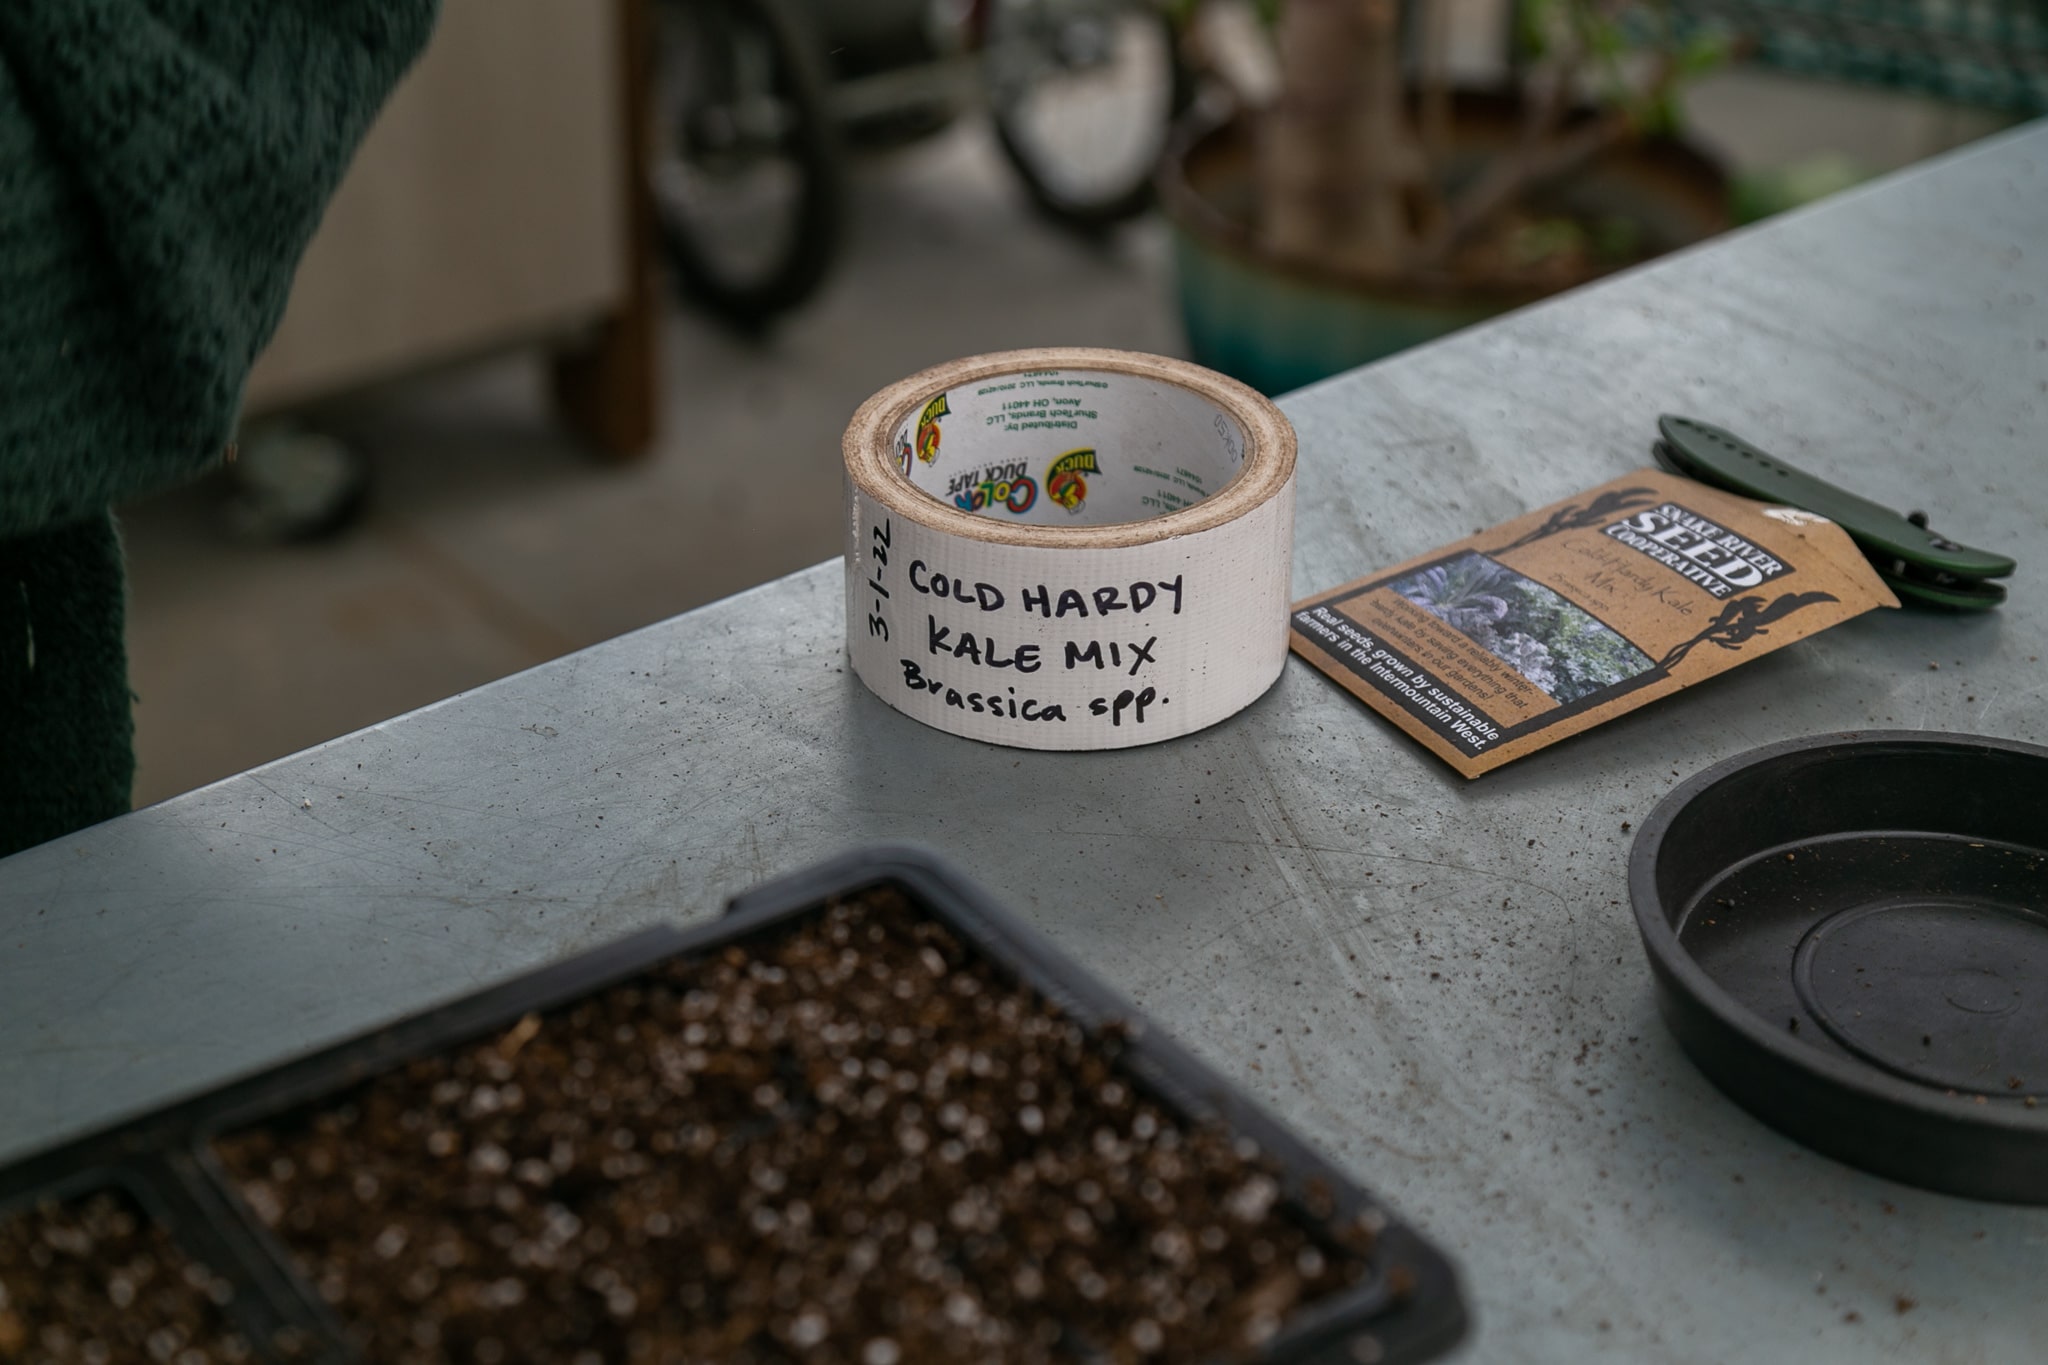
Move the label or make new ones when you transplant your seeds outside.
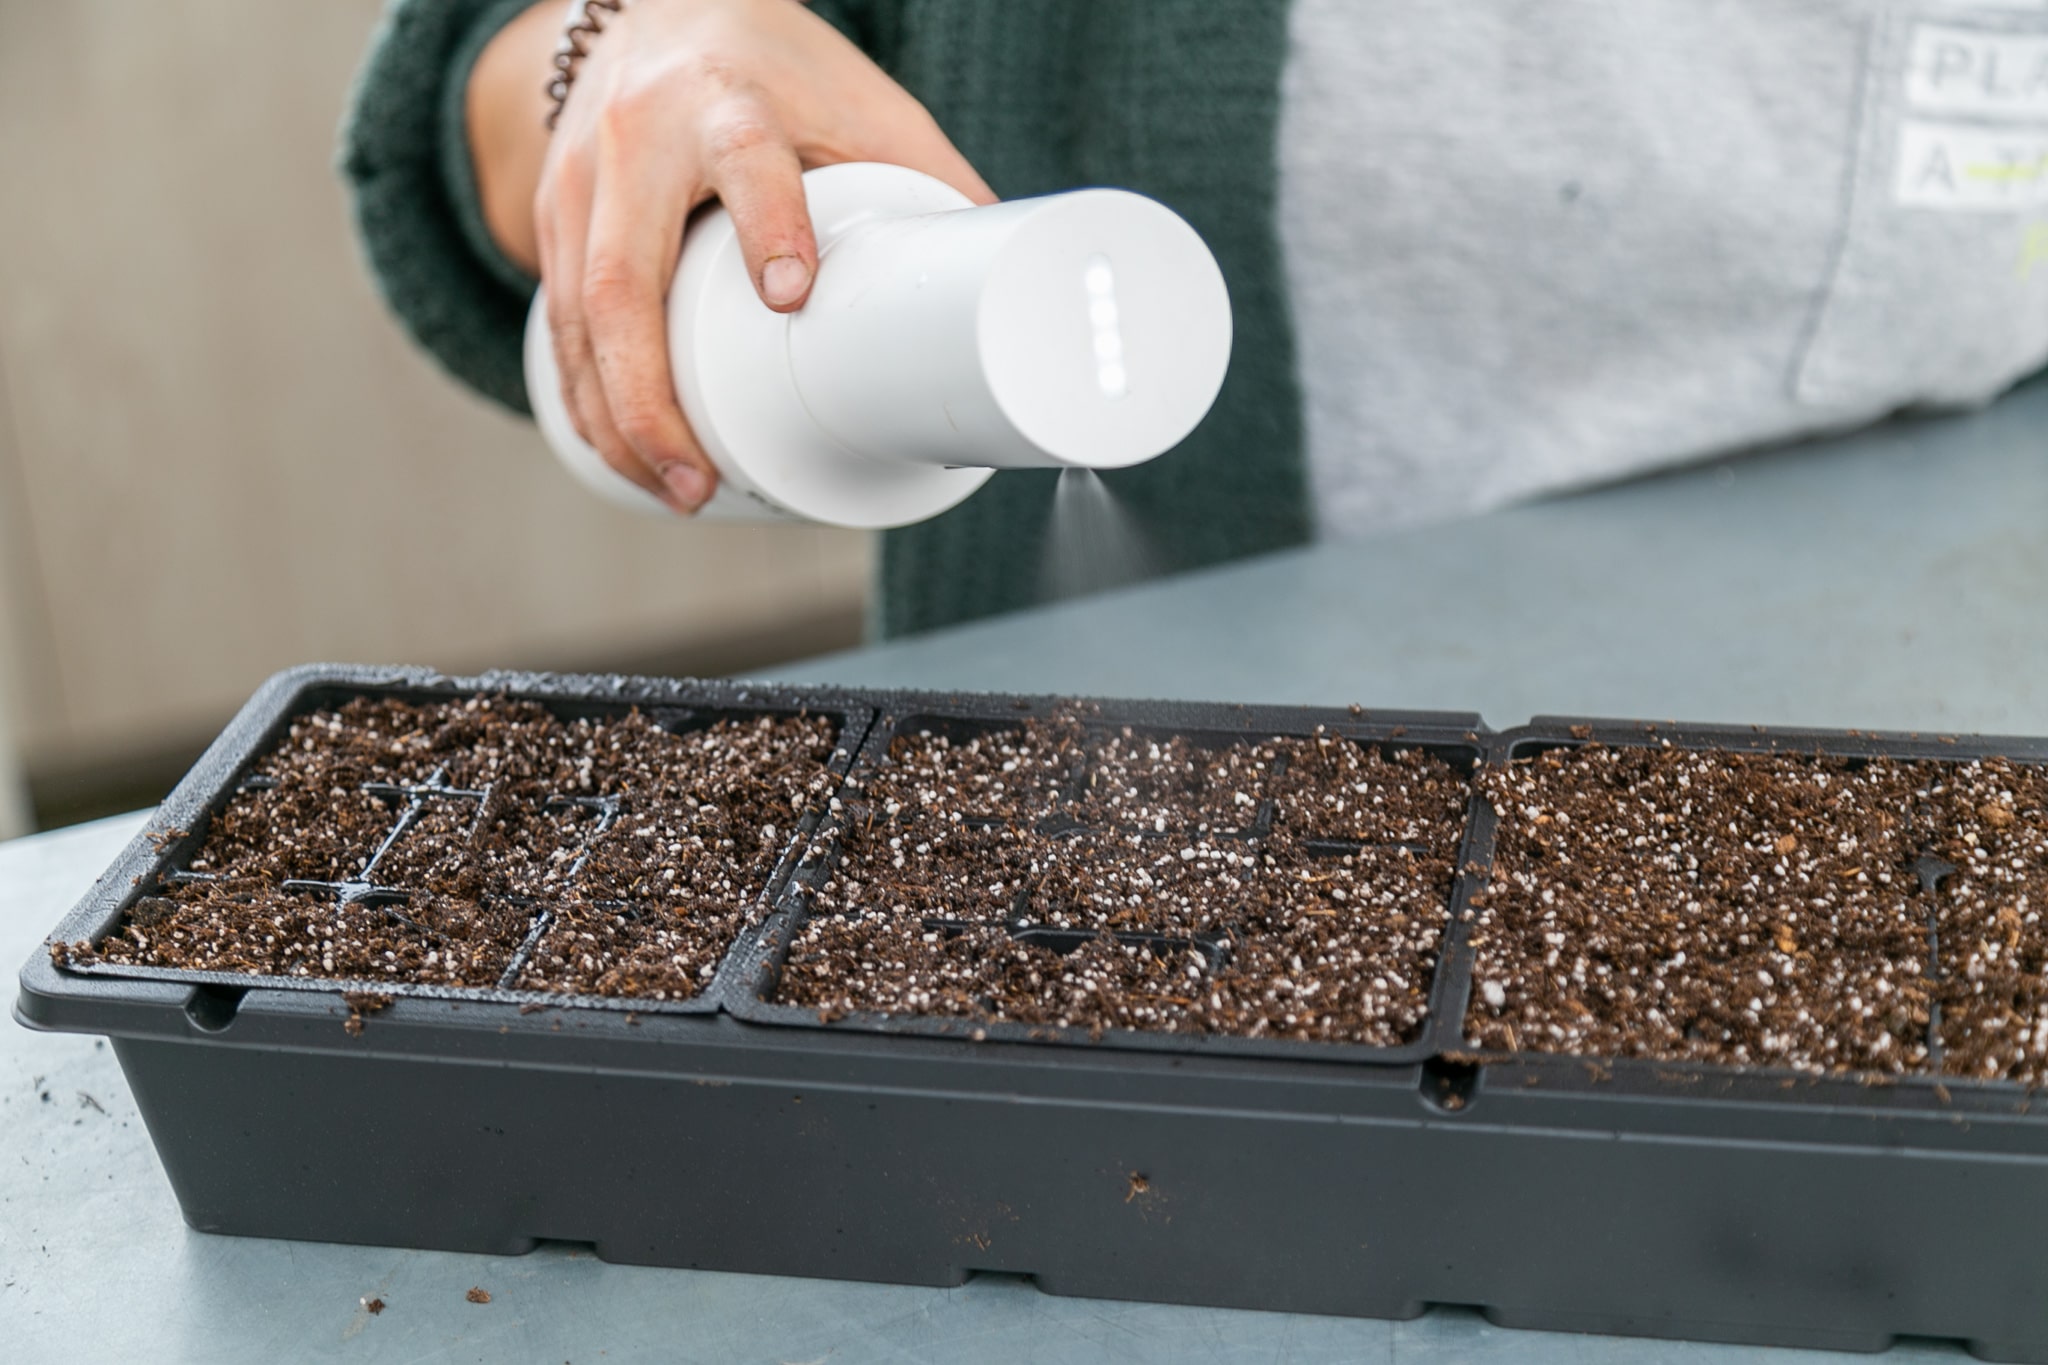
Water:
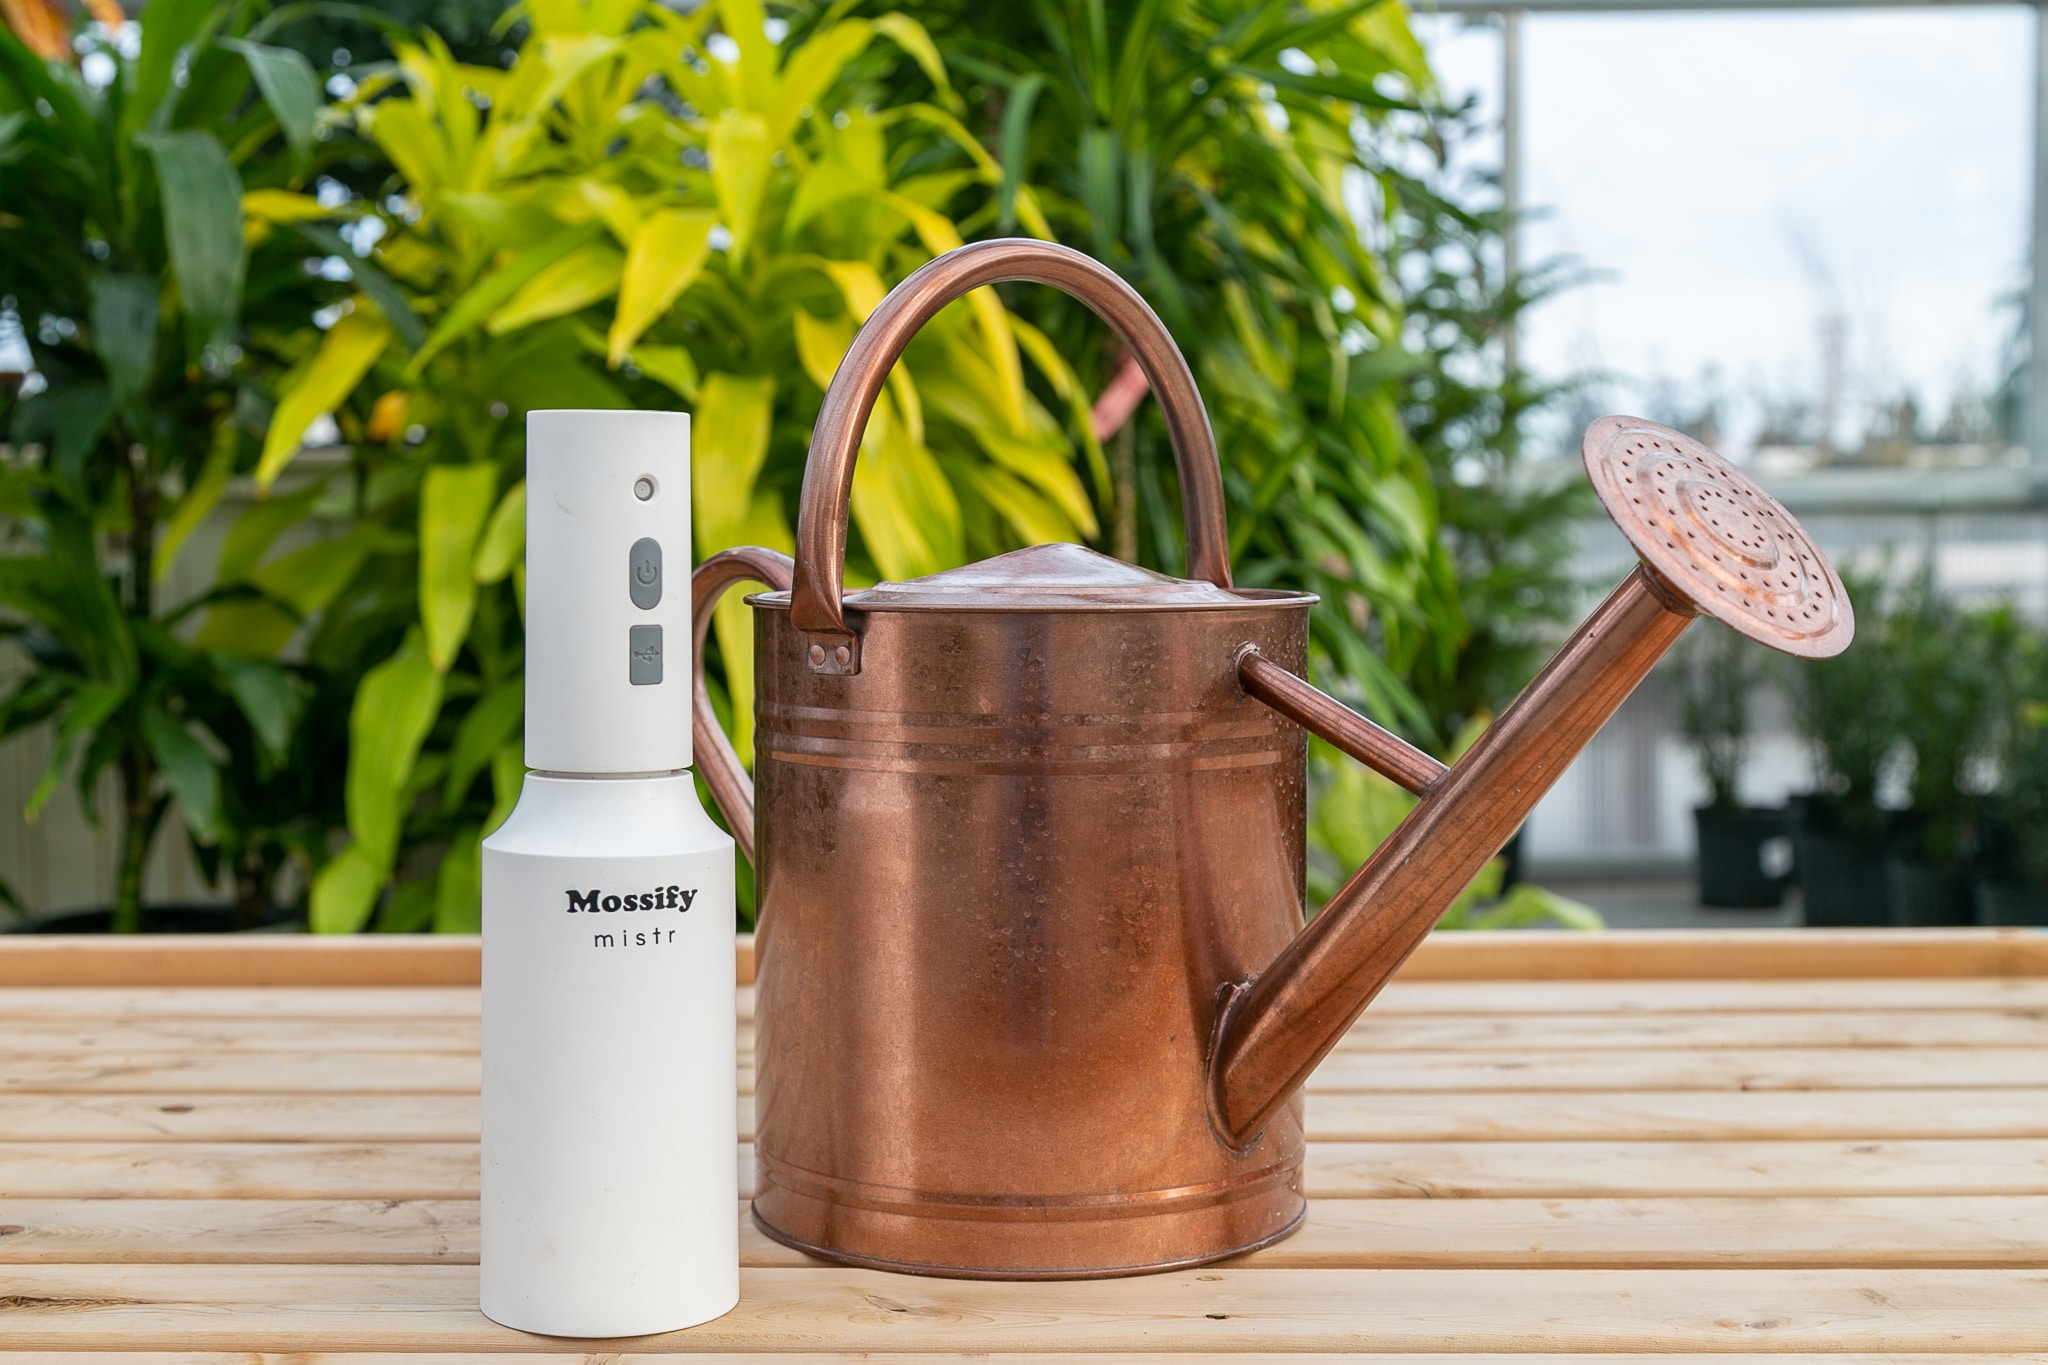
Once you plant your seeds, you’ll want to keep the soil damp. Starting with a mister and room temperature water will wet the soil just enough without dousing the seeds. Because mist droplets are so fine, you’ll want to make a few passes over the seeds to ensure they’re getting ample water. Check every day, you don’t want the soil to dry out. As your seeds germinate and grow, you can gently water with a hose nozzle or watering can. Be careful not to make the stream too powerful, otherwise your seedlings may break or flatten.
Fan or Airflow:
When seeds start indoors, they’re well protected from the elements…oftentimes too well. With that said, seedlings need movement and airflow to strengthen and prepare for the outdoors. Air circulation prevents fungal diseases and mold from developing. “Damping off” is a common disease with new sprouts if there’s not enough air movement. Providing a light breeze with an oscillating fan prevents unwanted diseases. Turn on the fan when seedlings are a couple of weeks old.
Steps:
Now let’s get into it!
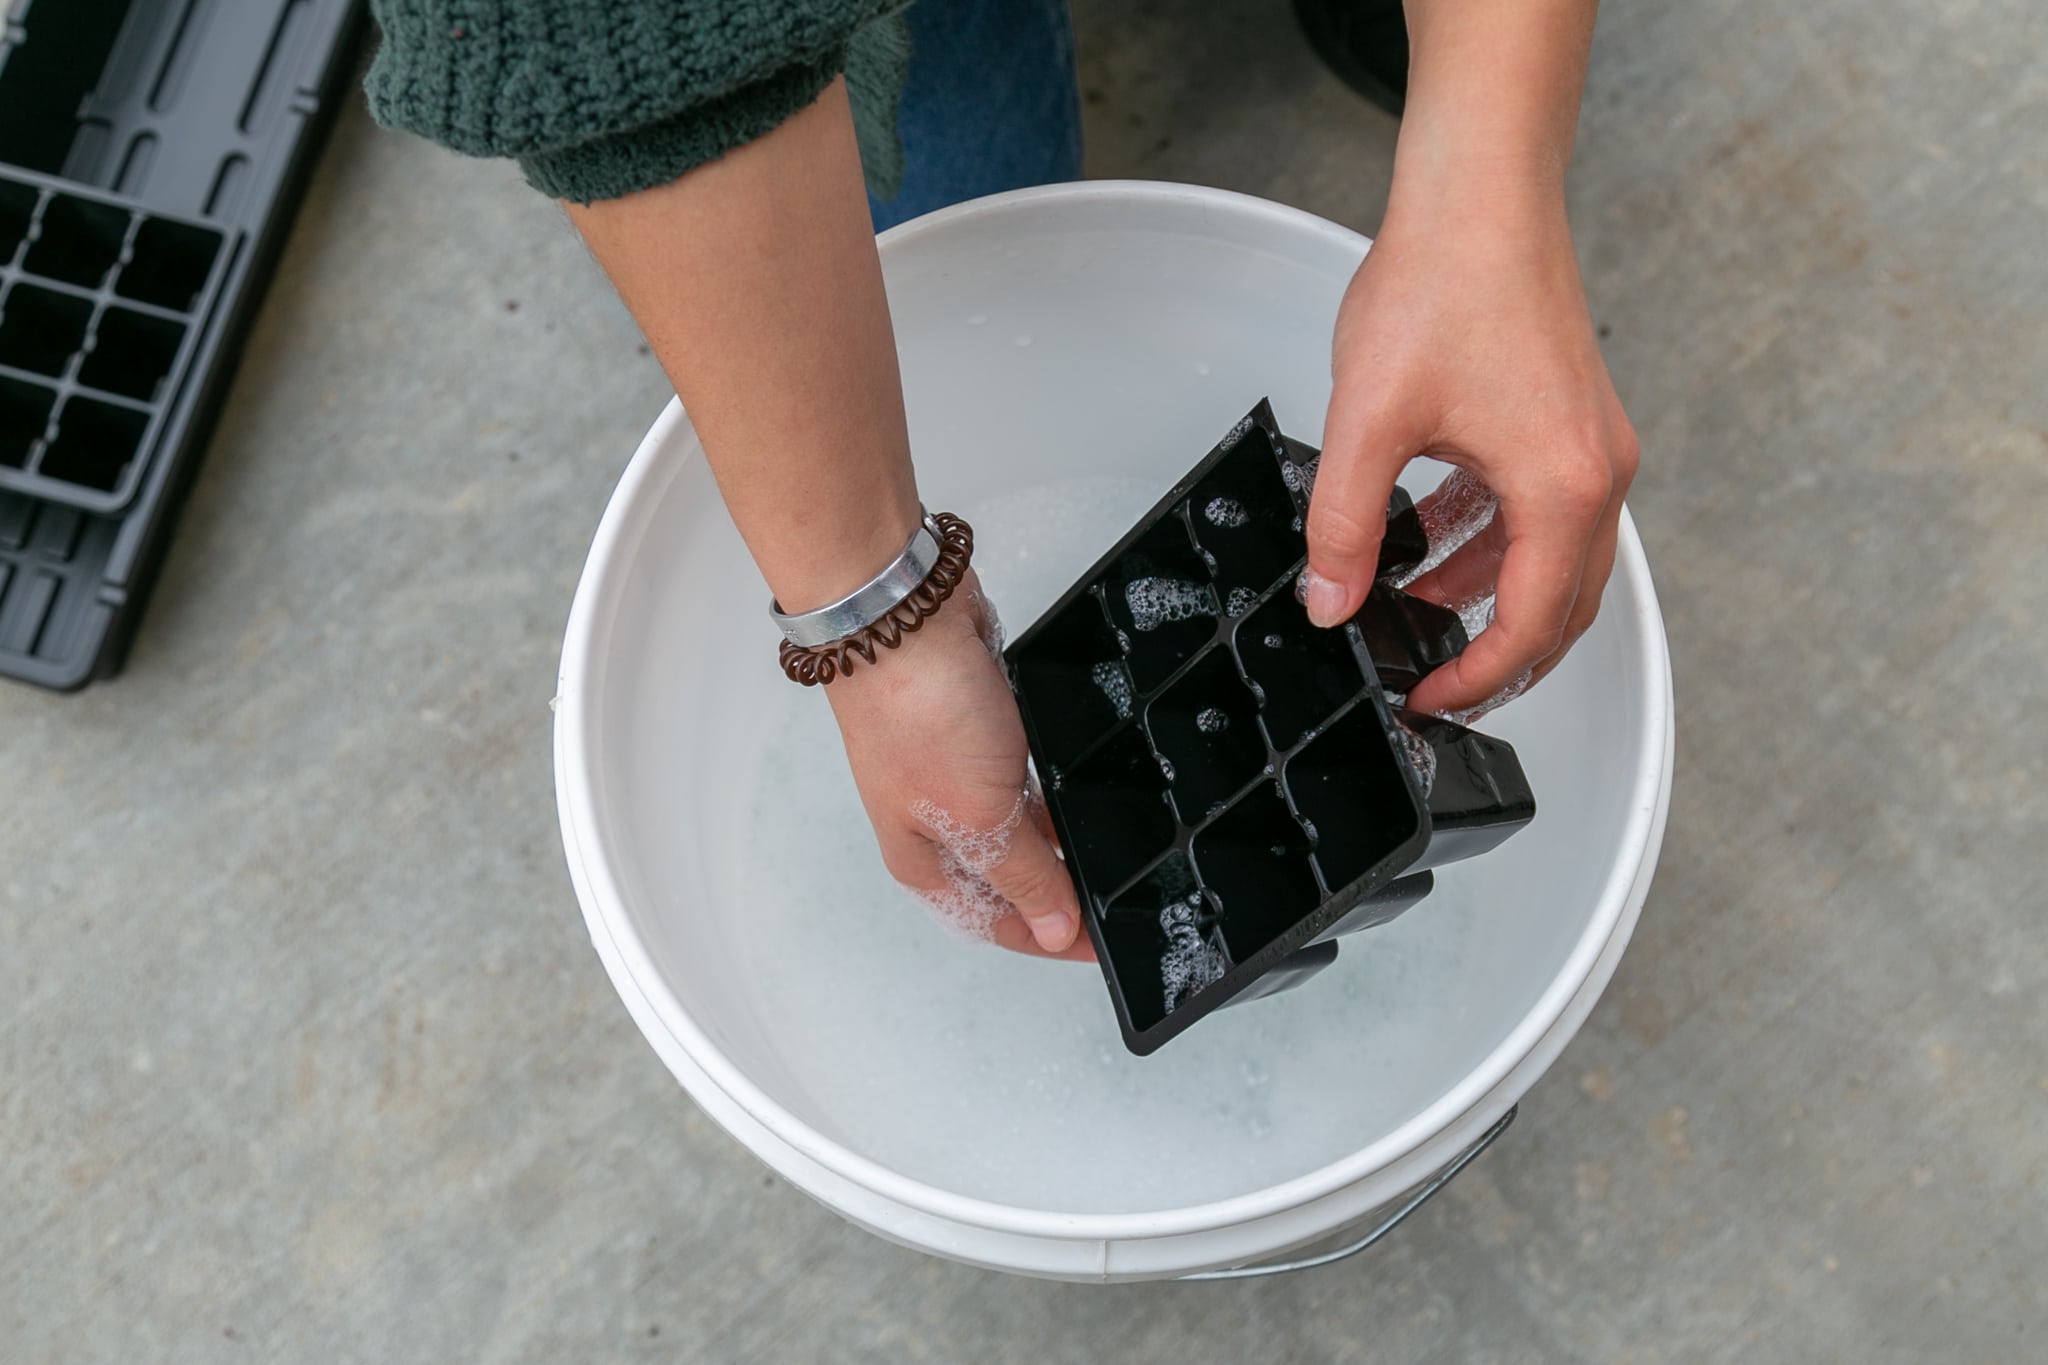
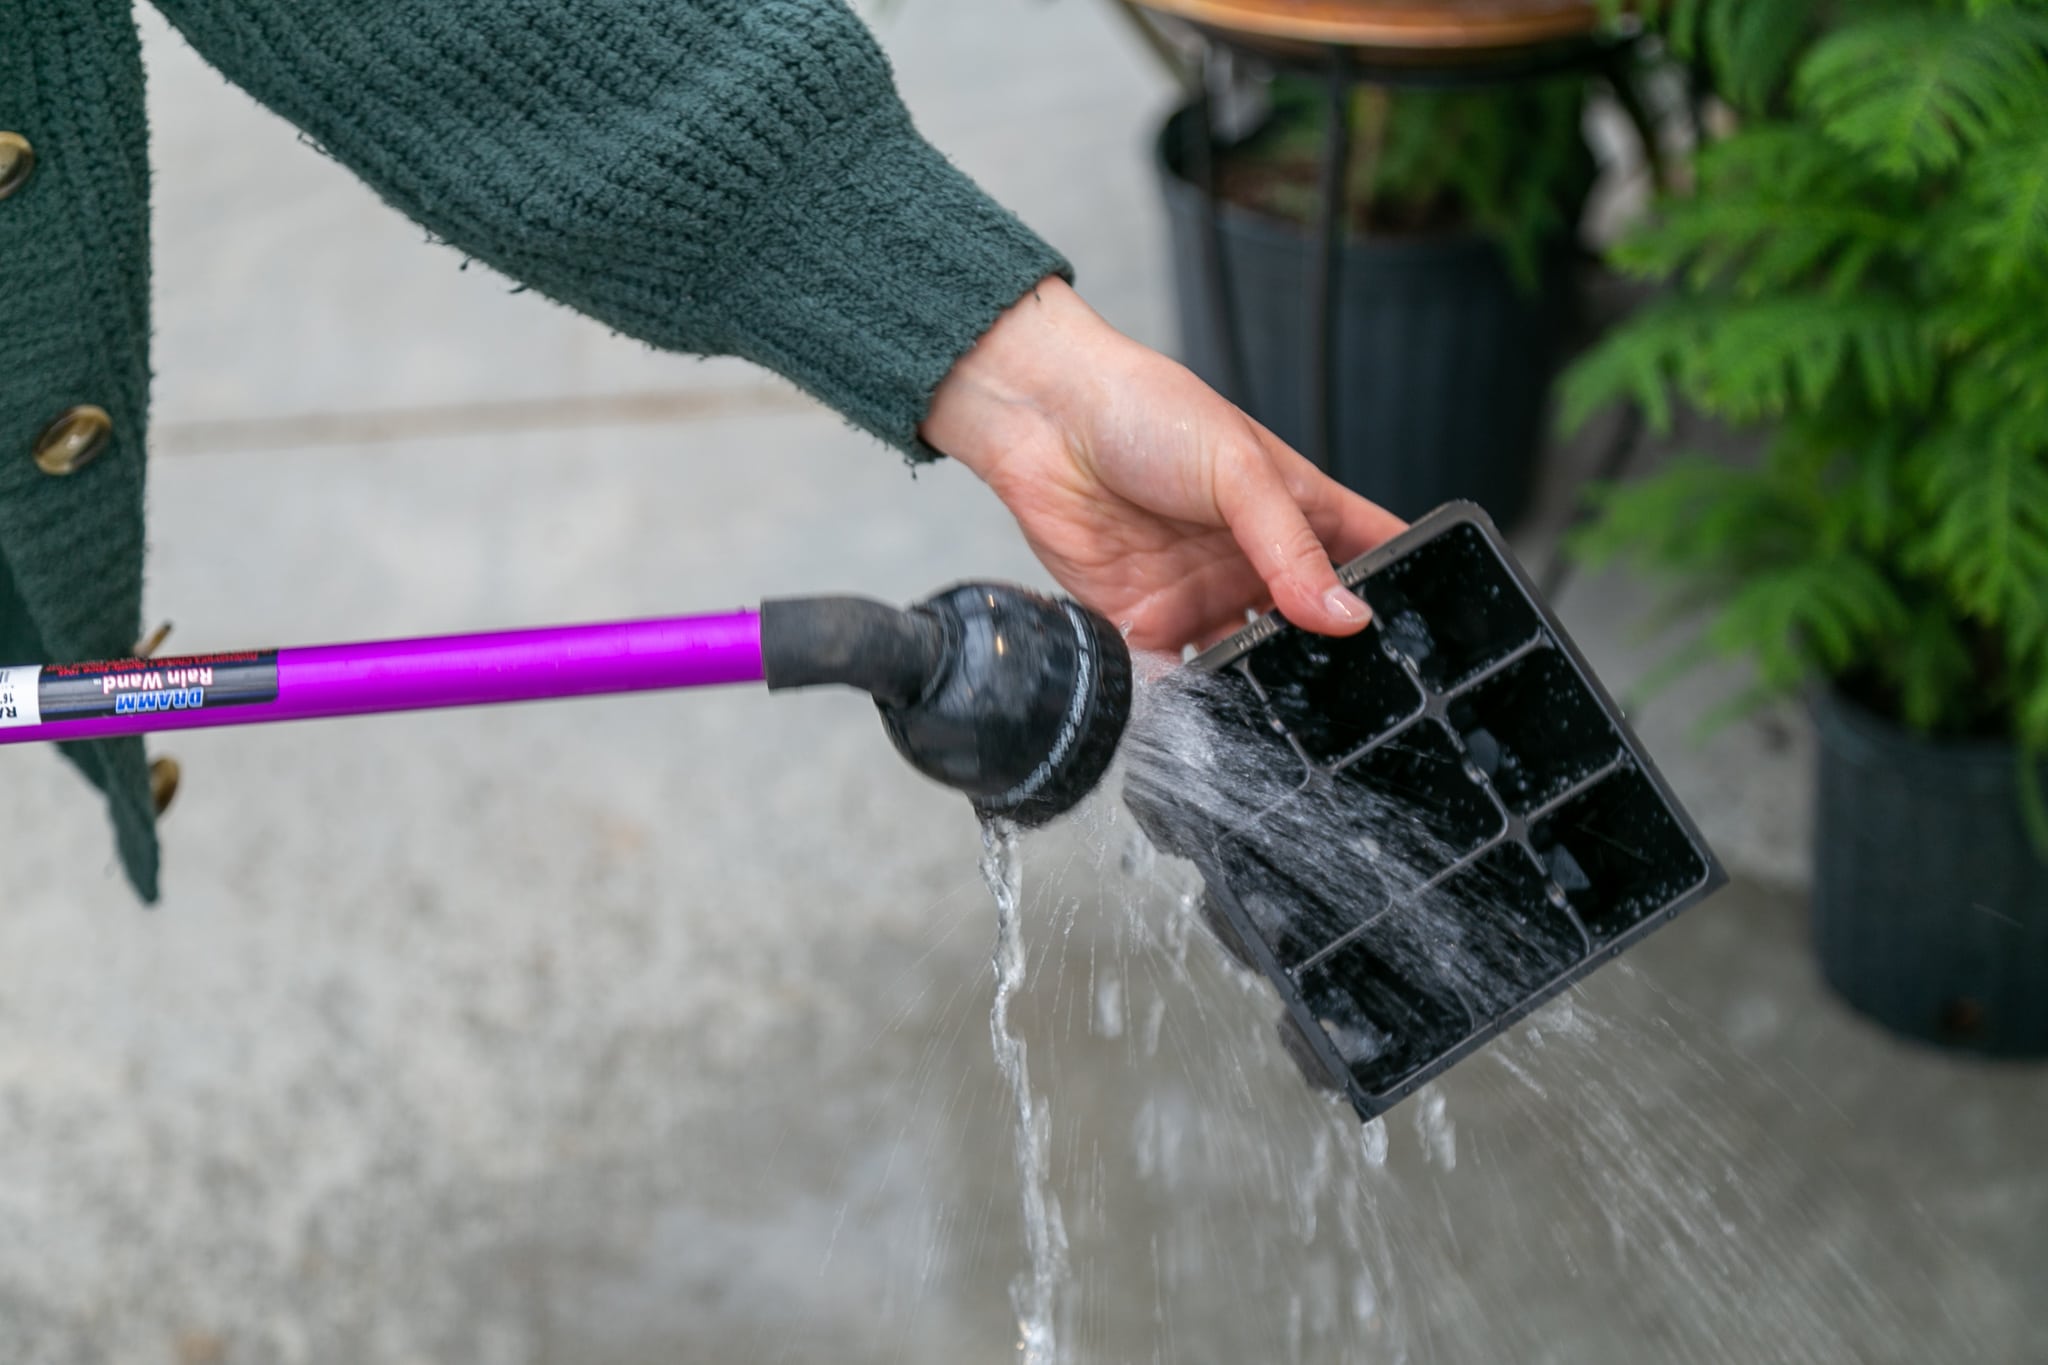
Step 1
Clean your containers, especially if you’re reusing old ones. Hot soap and water will do the trick.
Step 2
Fill containers just below the top with your medium.
Step 3
Sow seeds according to package instructions. A general rule of thumb is to plant them at the depth of their size. Lettuce seeds are particularly small—these you can sprinkle over the soil surface and gently press down to make sure they are in contact with the soil. With larger seeds, sow two to three per cell. This is in case some don’t germinate.
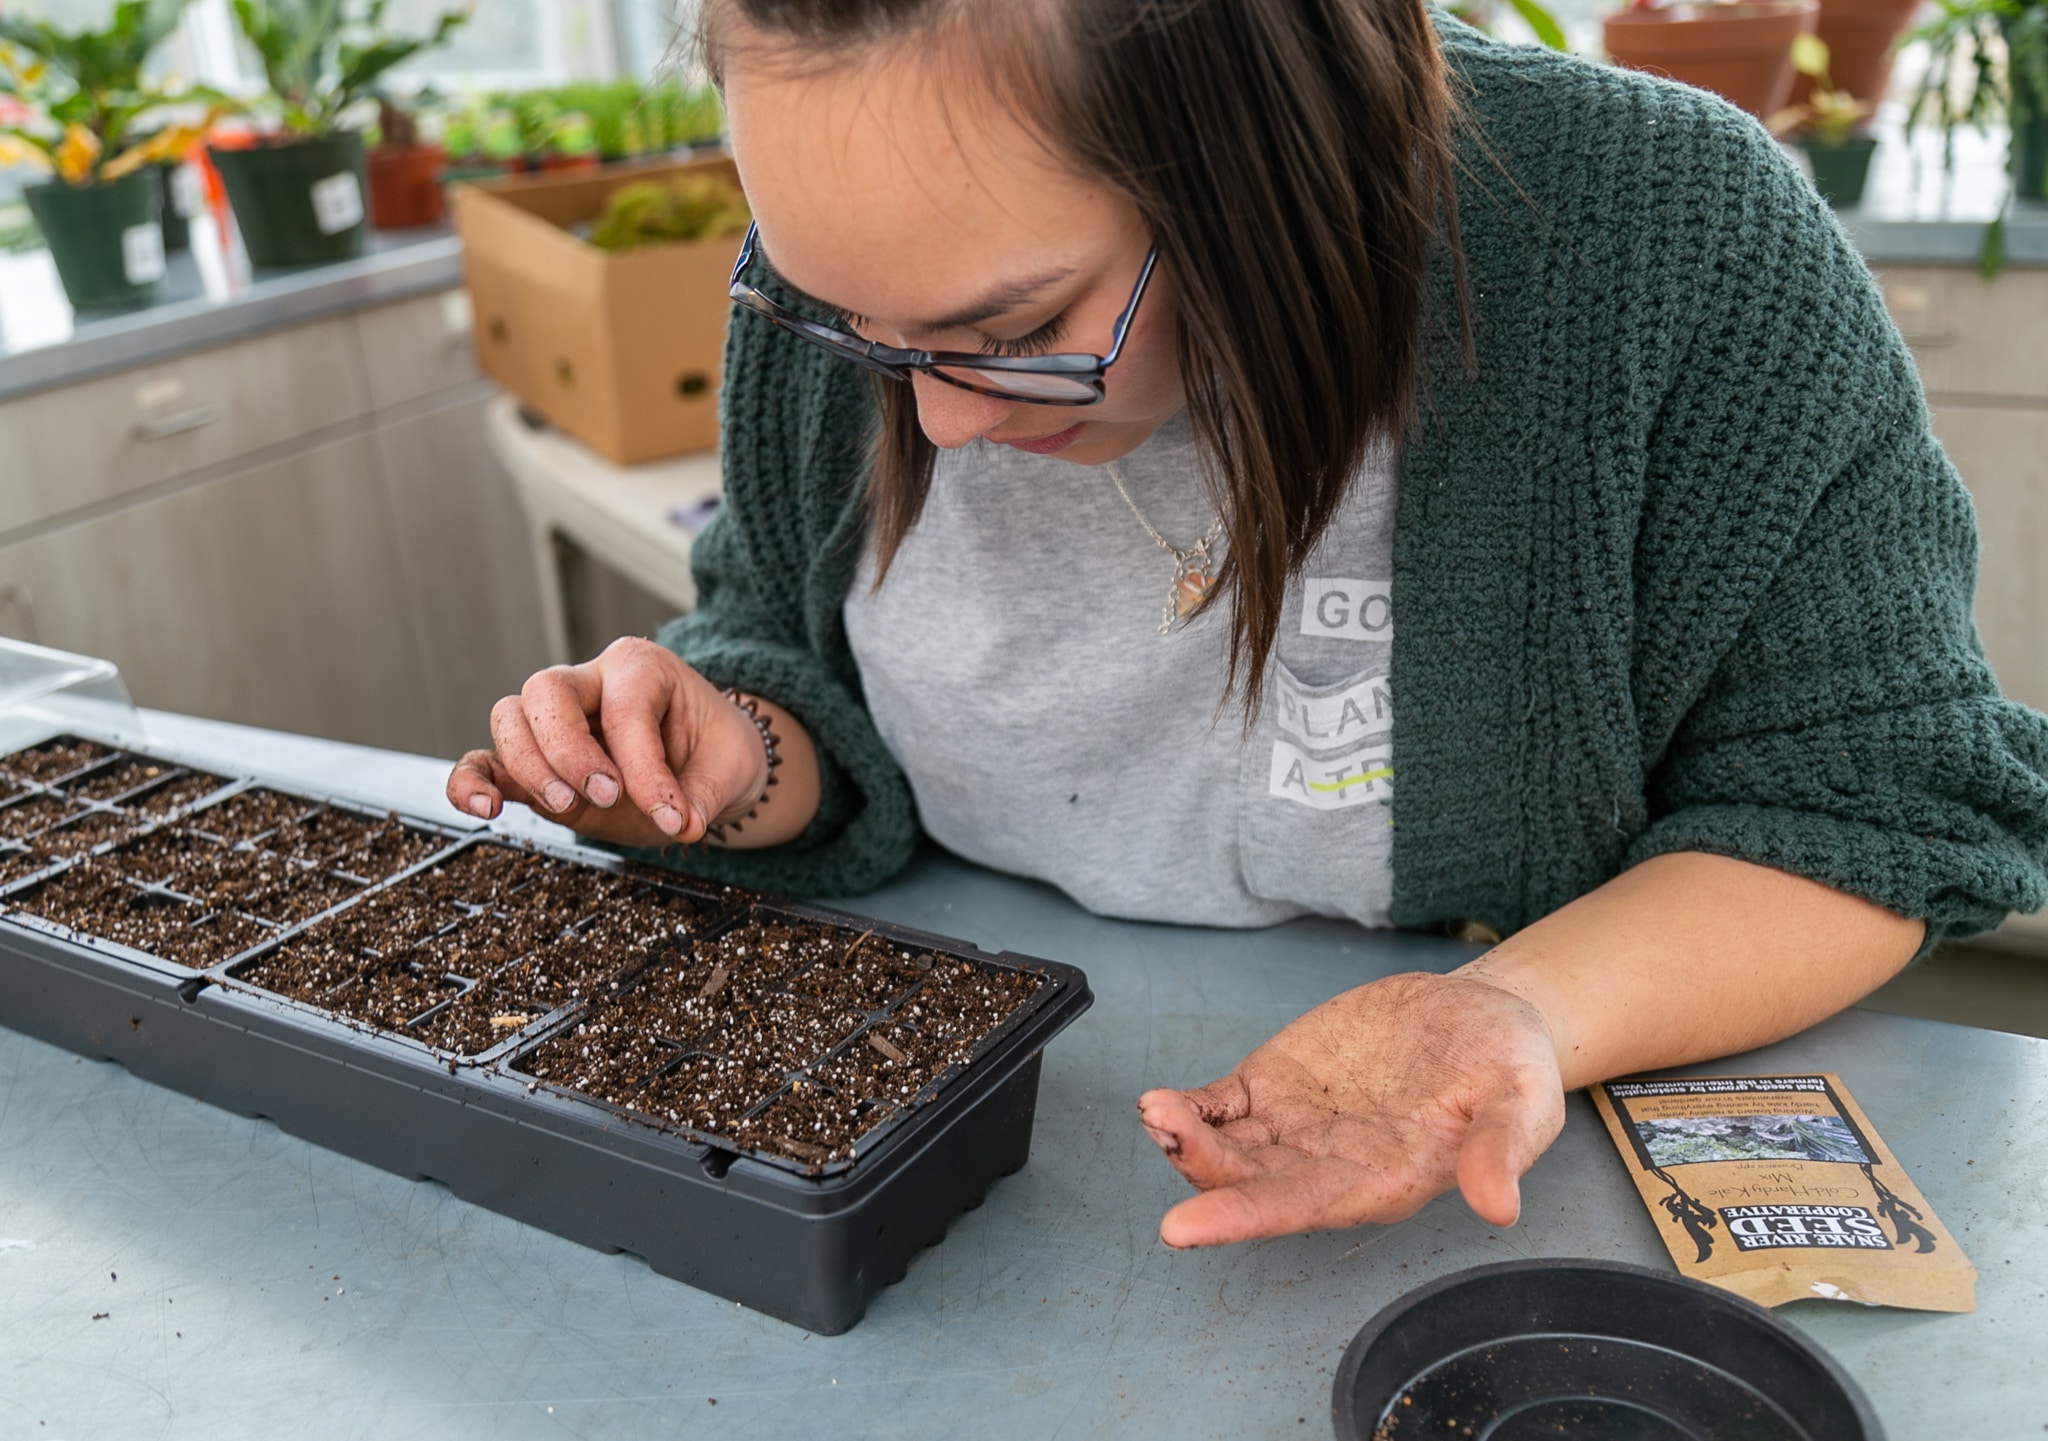
Lightly sprinkle more soil over the seeds to prevent them from totally drying out.
Label as you go so you don’t forget which tray is which.
Step 4
Mist over your newly sown seeds until the soil is damp, then cover with the plastic dome. Place the tray under the lights and on top of a heat mat or the fridge.
Step 5
Check water once or twice every day. It’s very important that the soil doesn’t dry out. When seedlings begin to emerge from the surface and sprout, remove the plastic cover. You’ll really have to stay on top of watering once the cover is removed—keep the seedlings misted but not soggy. After a few weeks of growth, switch to watering gently with a watering can and turn on the oscillating fan.
Step 6
It’s time to thin if multiple seedlings emerge from the cells (congratulations on a high germination rate!). Using a pair of snips or scissors makes this process easy. It’s always painful letting go of new sprouts, but this will give the remaining seedling more space to grow and spread its roots.
Step 7
As your seedlings grow into strong baby plants, you’ll want to harden them off before immediately transplanting outdoors. Hardening off is simply the process of acclimating them before fully exposing them to the spring elements.
Start off indoors. Strengthen your seeds is by lightly brushing your hand over the top of them. When the seedlings are pushed, they release auxins (a growth hormone) to build stronger cell walls for upright support. This prepares them for wind.
Next, place seedlings outside in a protected area. It should ideally be about 55-60 degrees out and dappled sun is best. Leave them out for three hours and check the soil moisture levels, you might have to water. Bring them inside before nightfall. Depending on the weather you may need to do this for a couple days.
After your seeds have graduated from a protected location, place seedlings in a more exposed area where they will experience a light breeze and direct sun—do this for three to four hours and bring them back inside before nightfall. Again, do this for a few days.
Continue monitoring the weather. As your seeds continue to strengthen, leave them outside for longer periods of time remembering to check them for water.
When you know the temperature won’t drop below 50 degrees at night, leave your seeds for their first sleepover outdoors.
Step 8
Transplanting dates for certain crops are determined by the last expected frost. Boise’s last anticipated frost is usually around April 15th. Be sure to reference those seed packets for more specified transplanting information.
Once seeds are properly hardened off it’s now time to transplant to your garden!
If starting seeds indoors is intimidating, don’t let it stop you from trying. Much of gardening is trial and error. If something doesn’t work, make note of it and adjust from there. Document the process, and as always, you are welcome to bring your questions to the Franz Witte team.
By Riley Rehberg