With spring well on its way, what better time to start crafting than now? Fairy gardens are fairly quick and fun activities for people and kiddos of all ages. Not only does this activity get all the creative juices flowing, but you’re also making a cute additional piece of artwork to decorate your home with. Fairy gardens are a great way to kick off the spring season by adding a colorful and whimsical element to your space. In this article, we will walk you through a quick and easy 5-step guide to creating your own!
Step 1. Create your design & choose your supplies
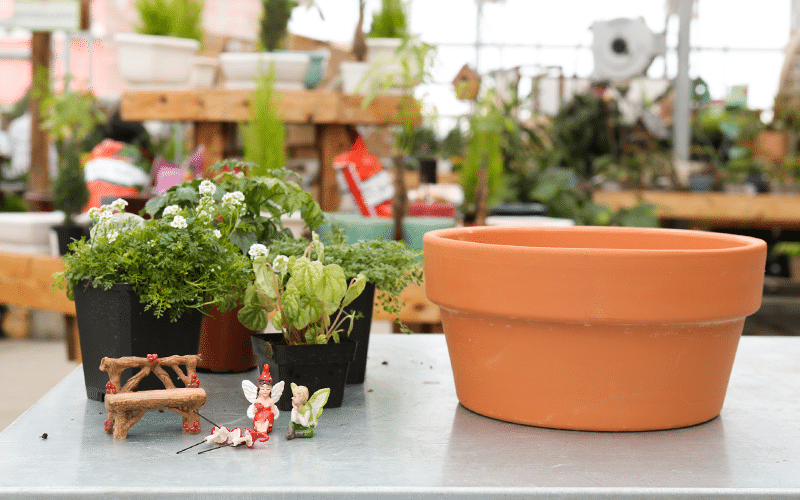
The first thing you’ll want to do is get inspiration. I like to look online for some ideas and then I will doodle something up so I can get an idea of what will fit in my pot and how I will arrange it. Then the next step is to find your plants and supplies! Depending on how large your garden will be will determine the size of pot to use. I find that a 10-12+ inch pot is a good average size to start with. You want to try and stick to plants that have similar requirements such as the amount of light and water they need. This will ensure your little garden thrives for as long as possible. In this photo, I am using a few plants and fairy garden accessories from our inventory here at Franz Witte to create a cozy cottage look! (The tiny mushrooms are my favorite.)
Step 2. Add your base layer
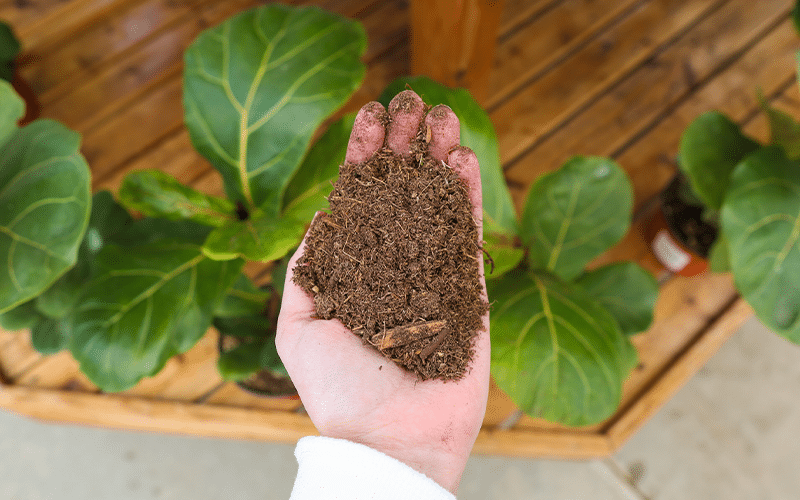
To start off, you’ll want to add a base layer. You can use a thin layer of rock at the bottom for additional drainage or just skip straight to soil if you have a pot with proper drainage already. The soil you use will depend on what kind of plants you are using. For succulents and other more tropical plants, we suggest using a more aerated soil. For average houseplants and more water-loving foliage, an indoor potting soil or compost mix should work just fine.
Step 3. Add your plants
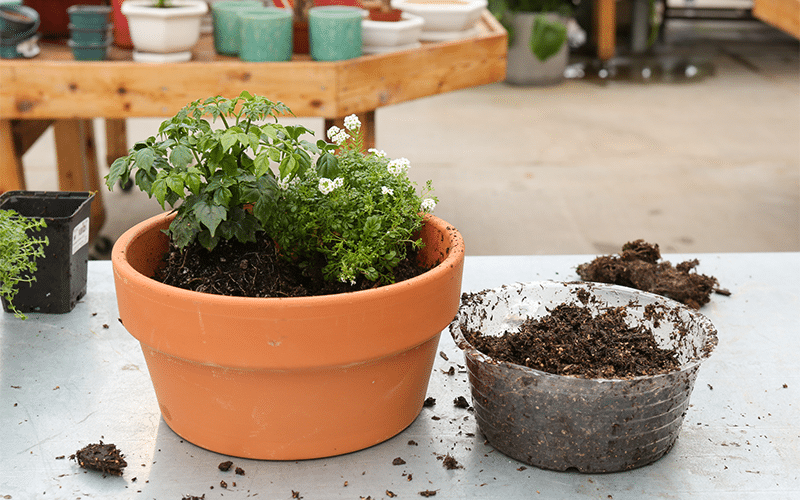
Now it’s time to add your plants. You want to leave about a half inch to ¾ of an inch of room between the pot and the top of the soil. This is to ensure you have enough room for any additional material you may add in the next step. Once you have arranged your plants to your satisfaction, give them a watering to help them recover from any trauma due to repotting.
Step 4. Create detail
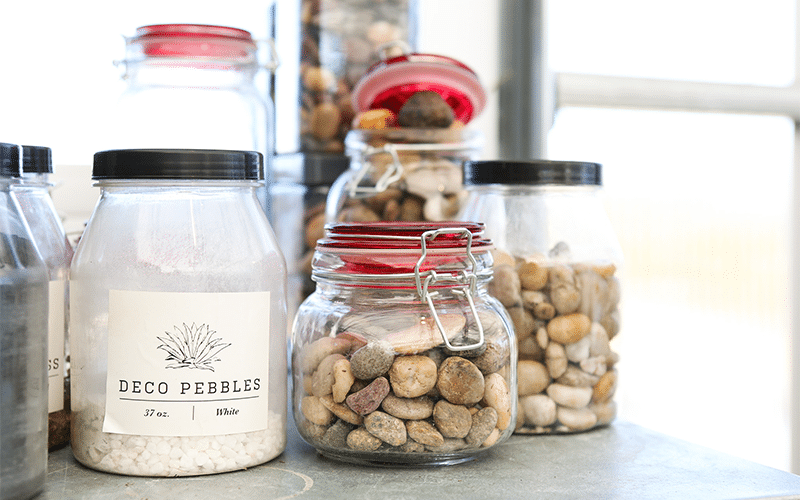
The next step is to start adding detail. This is where you will create any pathways, miniature ponds, stepping stones, rock stairs, etc. During this step, you will basically create any kind of details that aren’t pre-made such as a fairy house and other props. Here in our garden center, you can find the pebbles pictured above that are also used in this example!
Step 5. Add your props
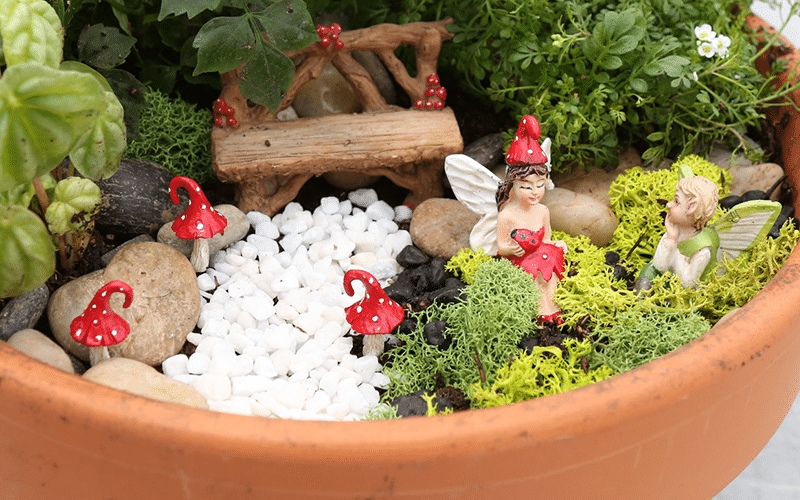
Now all you have to do is add your props! This is where you really get to have fun playing with decorations and different styles. When choosing the right props for your garden, keep in mind the size of the area you have to work with. Getting proportionate props will ensure the elegance and flow of your garden. A basic rule of thumb to follow and help guide you is while in the process of acquiring and setting up your items, I like to categorize them into three groups. You have your focus point objects such as your fairy house, bench, bridge, etc. Then you have your characters like animals, fairies, and other creatures. And lastly, you have your add-on pieces like mushrooms, a mailbox, signs, and other finishing touches. Putting the objects in categories will help give you an idea of what all you can put in your garden to carry it to completion!
At our garden center, there is plenty of fun materials to choose from. Not only do we carry the products, but we have experts in design who are more than happy and eager to help you reach your goals. Make sure to stop by and shop around when starting your next project!
All materials that were used in this project can be found in our garden center.
If you enjoyed this blog post, check out our How To: Indoor Herb Garden post!
By Faith Jamison

